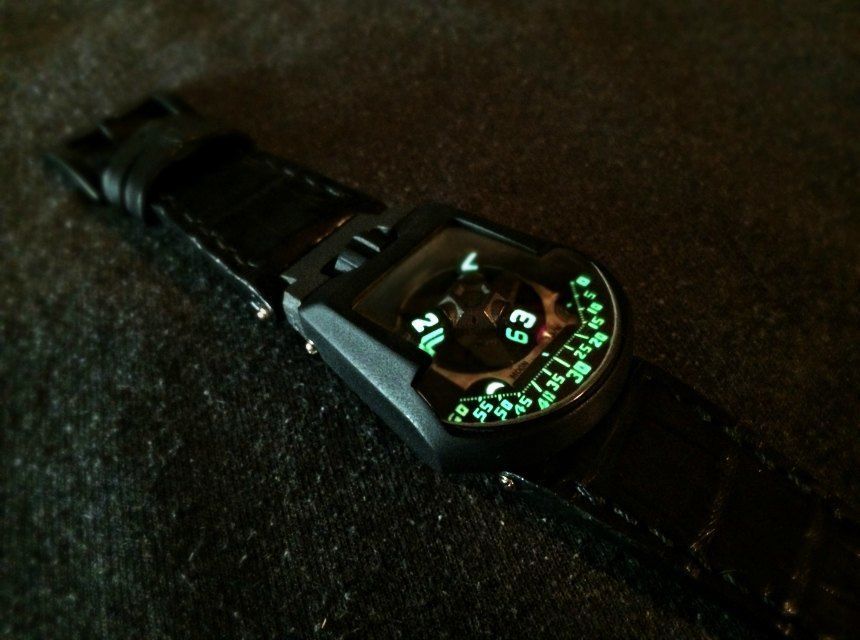
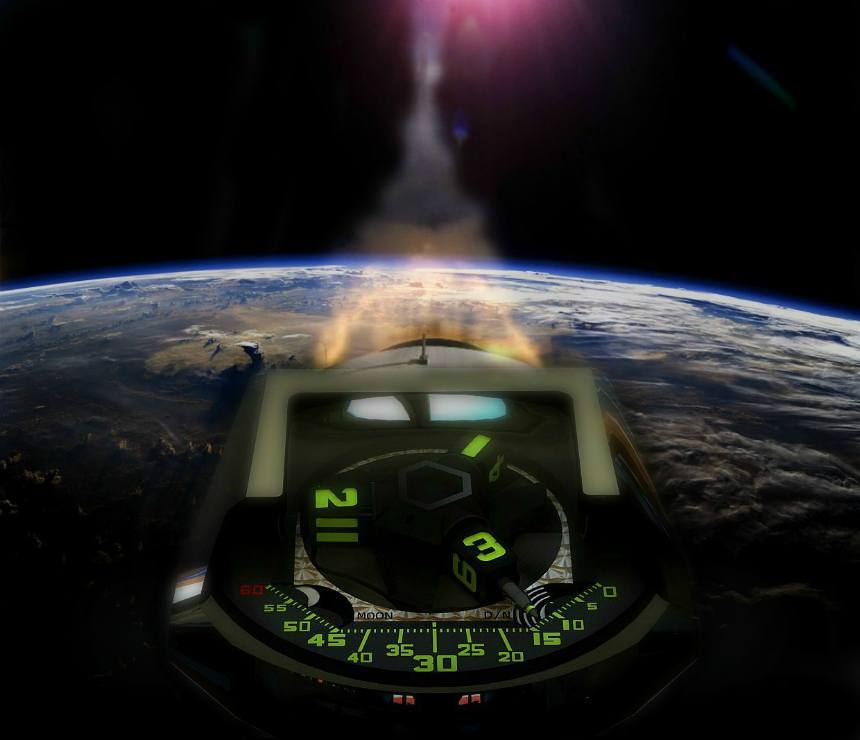
 Meet Karel, a young engineering student from San Ramon, California. Fueled by his love for horology and the more unusual timepieces of the 21st century, he quickly grew fond of Urwerk and their unique ways of displaying time. In fact, he liked them so much, that he set out to harness his studies as an engineering student and design and craft his very own homage to his favorite high-end watch brand – and today, he shares his experience and achievement with us…
It all started roughly 2 years ago, when I first set my eyes on a few of Urwerk’s timepieces. Their watches were unlike anything I had ever seen: to me, they were modern day pioneers of the watchmaking industry. One thing that really fascinated me about these pieces was that they feature incredible advancements in horology, while seamlessly meshing these mechanisms in a very aesthetically pleasing way. It is not uncommon to see a watch that is packed full of incredible engineering feats, while the rest of the design seems to be an afterthought. What makes watchmaking so unique is its ability to bring together engineering and art, and in my opinion, Urwerk has executed this exceptionally well.
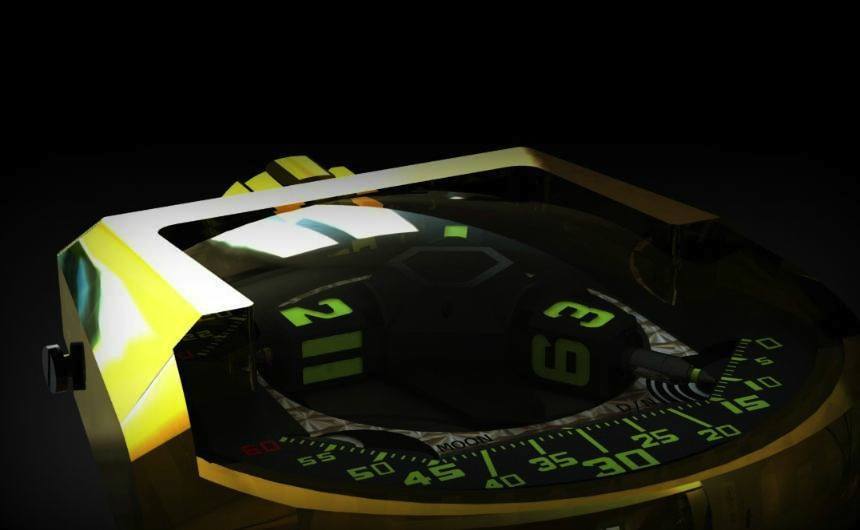
Watchmaking is one of the last forms of engineering with a large amount of freedom due to the nearly non-existent design constraints – other than size limitations, of course. In that sense, it is still very much an art; people are encouraged to come up with new features, complications and escapements, not necessarily to try and surpass quartz and atomic clocks as a scientific instrument, but to show that there is so much more to watchmaking than being able to keep time.
I found the Urwerk UR-202 to be absolutely incredible. However, they came at a hefty price, and still being a college student, it was not necessarily something that fit into my budget. Nonetheless, as opposed to deterring me from one day owning this great timepiece, it motivated me to try myself in getting as close to it as possible. Being a mechanical engineer, I thought there was no better way to learn from these great watchmakers, than to rebuild the watch on my computer using 3D CAD software. Now, I knew this would be no easy task, but my passion for watchmaking and engineering overcame any second thought, and I immediately began work on what would soon become a new found love for the world of horology.
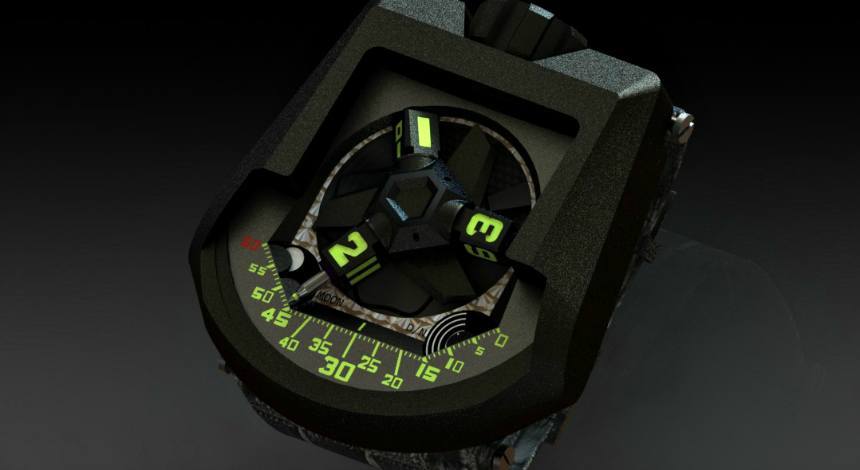
A Year-Long Look Under The Hood Of The Urwerk UR-202
Finding the proper dimensions was one of the most difficult parts about this project because, quite simply, there weren’t any available (for obvious reasons). I began by compiling hundreds of pictures of the Urwerk UR-202 from various angles as well as getting the overall dimensions of the watch (case height, width and length). With this information, I was able to develop sketches of the outer case with proper dimensioning by using the overall dimensions to scale, and create a conversion ratio for the rest of the angles/measurements. Once the outer case had been dimensioned, I moved on to the case back, crown, rotor assembly, and any other component that could be seen externally.
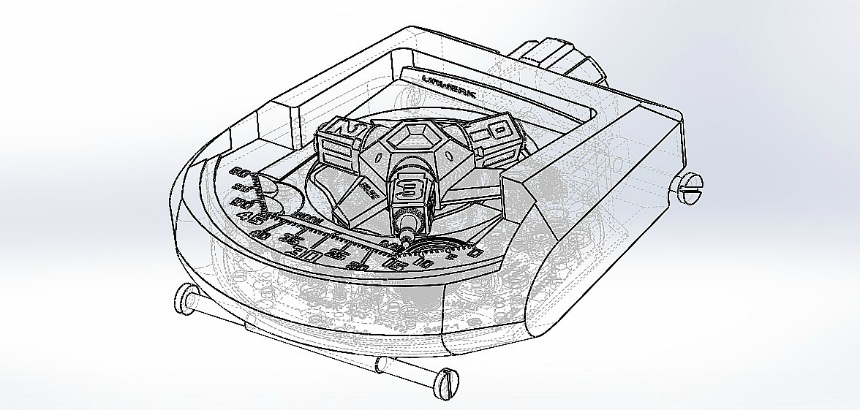
Once all the external components had been properly dimensioned, I began working on converting these sketches into Solidworks CAD software. The internals and mechanical functions of the piece, however, were far more difficult to recreate in the software. That being said, with every struggle there is an opportunity to learn something new. Since there were no pictures or references to how the movement functioned, it was up to me to learn and develop ways they could be implemented without aesthetically affecting the watch.
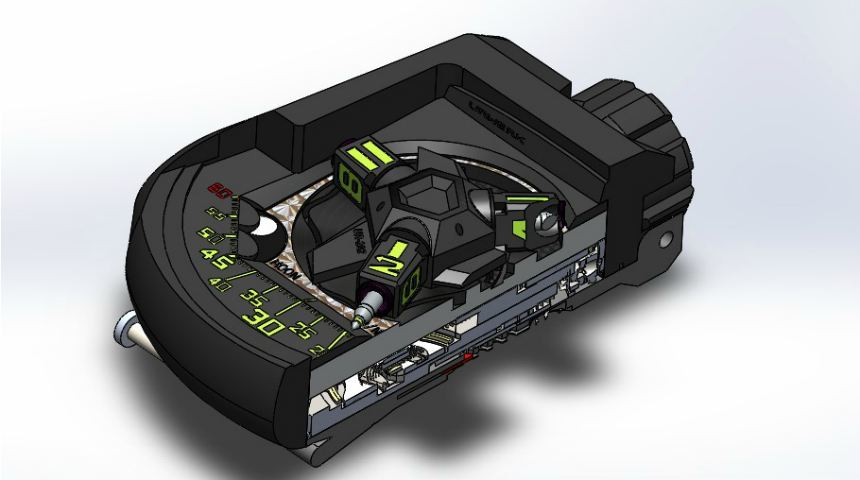
The baseplate, to me, was one of the most complex components to recreate in this watch. There are so many features and very tight tolerances, that even the smallest imperfection will render the movement completely useless. After watching the Urwerk UR-202 promotional video dozens of times and analyzing it frame by frame, I was able to better understand the exact workings of this complex barrel assembly. As one of the hour barrels revolves towards the crown, it is greeted by a peg. The peg catches a small opening in the barrel allowing it to revolve 90 degrees.
Once the barrel is level on the surface again, it will repeat this process two more times, a total of 270 degrees, thus being rotated to the new proper hour. This does not seem overly complicated, until you understand just how small these components are and how precise each measurement must be in order to get smooth and consistent functionality of the movement. The tolerances on these kinds of watches must be perfect; any slight deviation will increase the friction significantly and be detrimental, not only to the power reserve, but the overall longevity of the movement.
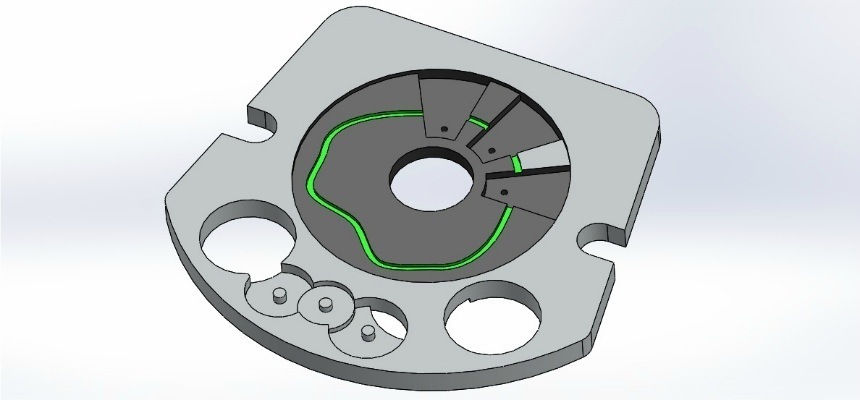
Another difficult aspect to the baseplate was the cam paths (highlighted green), which allow the minute needle to extend or retract based on where it is along the minute dial. Under each wing of the rotor dial is a small guide rod, which fits into the cam path and is connected to the telescopic minute hand. As the rotor turns, the cam path will adjust the length of the hand accordingly. This complex curvature was something that needed to be calculated, which gave me an even greater reason to pay attention in my calculus courses. The path curvature took some time to perfect, but after adjusting a few dimensions, it was working beautifully in the motion analysis of Solidworks.
However, just because something works well in CAD software does not necessarily mean it will function in real life. A year had passed since the beginning sketches of this project, and I had finally designed and assembled all the components (to the best of my knowledge) in Solidworks. As I played around with the movement on the computer, my admiration for this watch and the watchmakers behind it only grew. I had put in so much time and research to design it on the computer, that I decided it would be a shame not to take it a step further and machine all the components myself. I knew this would be no easy task, and the more people that told me it couldn’t be done or that it would be too difficult to machine, only made me more determined to build it.
Bringing The Project To Another Level: Materialization
I began looking around for places to machine these pieces, and was quickly met by the harsh reality that manufacturing such small and complex components would be extremely costly. It was certainly discouraging, but I had not given up, as I knew that with time I would find my solution. This is when I stumbled into the world of 3D printing. I had used 3D printing in the past for relatively simple components; however, making complex assemblies is a different task entirely. I started printing out some of the larger components, the outer case, baseplate, rotor dial, etc. Still, the print resolution was nowhere close to what I needed. You could see the print layers very easily, and all of the finer details were lost in the process as well. This is common with most standard 3D printers, so I continued searching for an alternative.
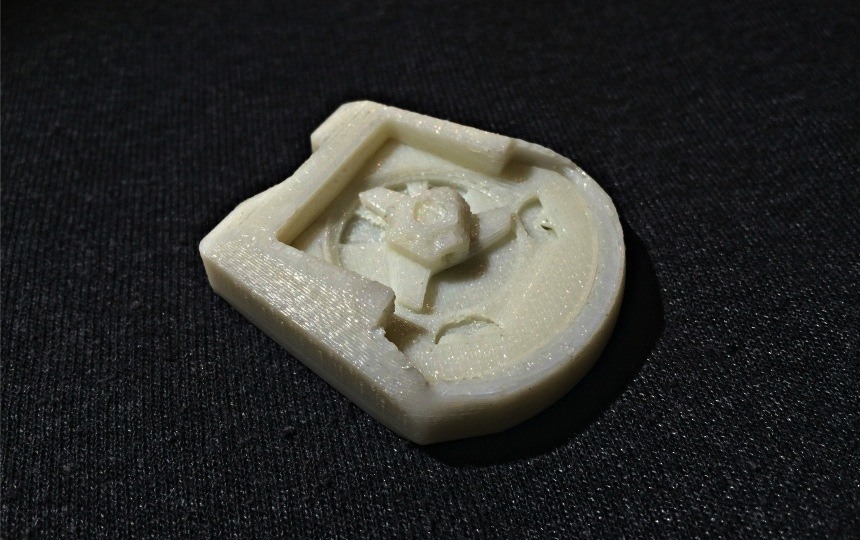
I imagined it would take multiple iterations of prototypes before everything worked properly, so machining all the components out of the specified materials in every case was out of the question due to my budget limitations. As I continued to do research in the world of 3D printing, I stumbled across a relatively new technology known as Multijet modeling process or MJM. This method will create a thin sheet of material using multiple print nozzles, and then polymerize each layer using a UV lamp. Not only is this UV-cured acrylic very durable, but it can be printed at a resolution of 0.01mm as opposed to 0.1mm for most standard 3D printers. This meant that I could now have print resolution roughly 1/10th the thickness of a sheet of paper. This increased the accuracy and precision of my components significantly; and so I was finally back on track to recreating the Urwerk UR-202 in honor of the great watchmakers and designers behind it.
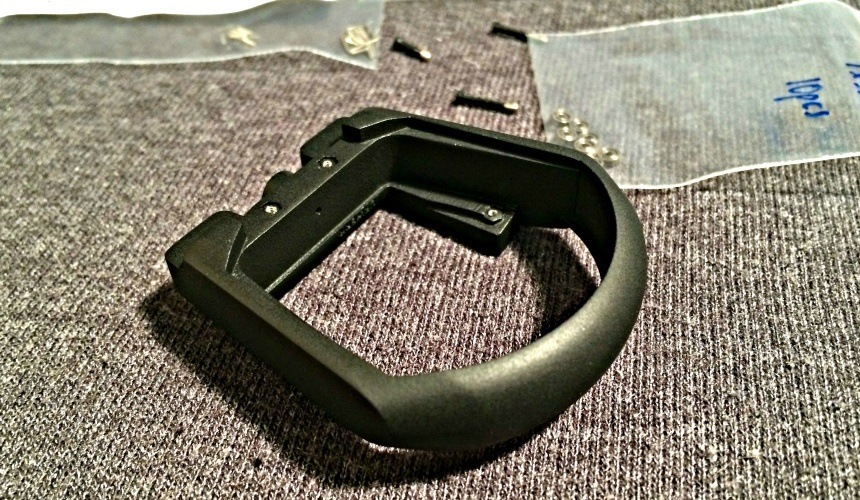
After nearly 7 prototypes of fine tuning dimensions for proper fitment and functionality, I was ready to begin machining the final components. First, it was the turn of the outer case and crown. These components took a fair amount of time to get the proper finishing, although they did turn out beautifully. Every detail from the screw points to the micro engravings inside the case were accounted for, as I wanted to get everything as close as possible.
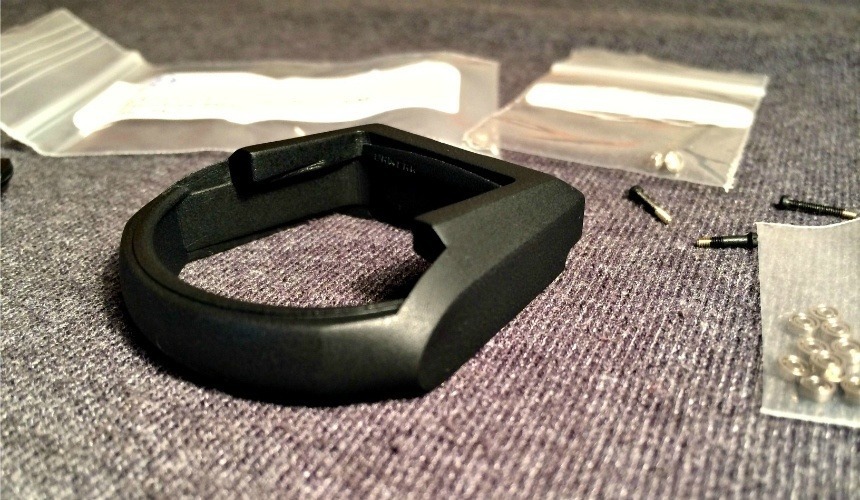
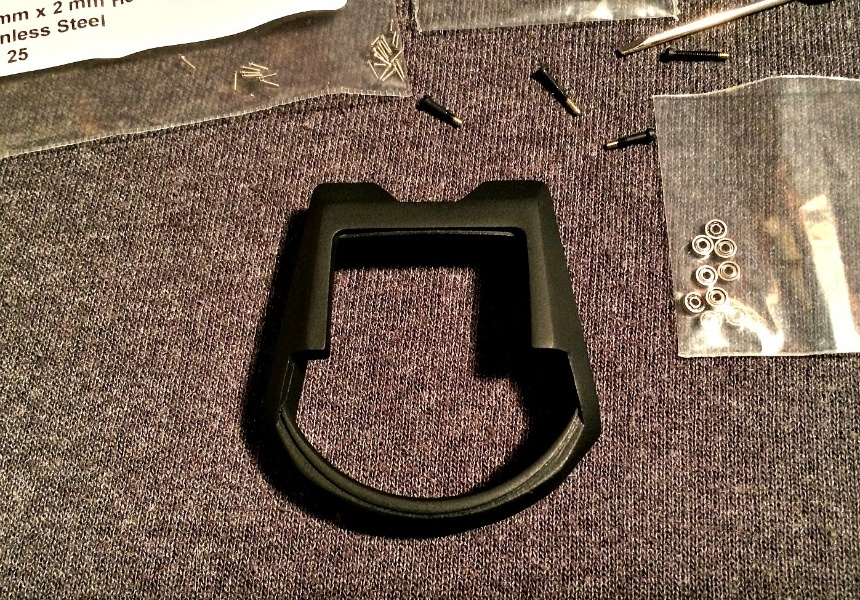
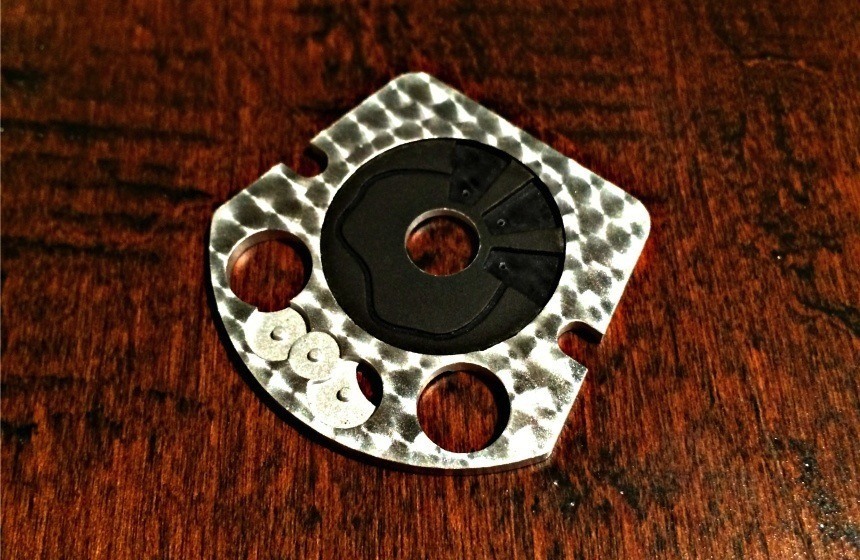
Next up was the baseplate. There were roughly 8 iterations of this component made, each of which represented minor improvements and involved a lot of fine tuning. This baseplate is largely responsible for the overall workings of the revolving satellite complication, so making sure that everything was functioning properly was crucial before machining the final piece. Once I was satisfied with the baseplate, I machined it out of aluminum 6061. Perlage was then applied to the specified areas and the center portion of the plate was anodized and, finally, it was fitted to a base Miyota movement with which it is able to function and display time like the original – although I do wish to be able to upgrade to an ETA base in the future.
Once the baseplate was finished, I began work on the crystal which covers the face of the Urwerk UR-202. This was by far the most difficult single component to design. Urwerk’s case designs are very unique, so in turn, a unique crystal must also be designed to fit the case properly. This piece is not just a generic circle but a whole array of complex splines and cutaways that are not easily designed – let alone manufactured. When creating this piece in Solidworks, I realized just how tight the clearance was between itself and the rotating barrels beneath it. There was about 0.3 millimeters (0.0118 inches) of play between the two, so making sure it all lined up perfectly was absolutely crucial.
After nearly an entire month of work redesigning and fine tuning this piece, it was finally time to get it machined. Urwerk, like most companies, uses a sapphire crystal with an anti-reflective coating, so I contacted a few companies to get quotes for machining this piece. Now keep in mind, if it had been a simple circle cut out of a sapphire crystal the price may have been manageable. In this case, however, when I received the quote my jaw dropped to the floor. Due to the complex curvatures of the piece they would need to carve out an entire block of sapphire crystal which is already a very difficult material to machine.
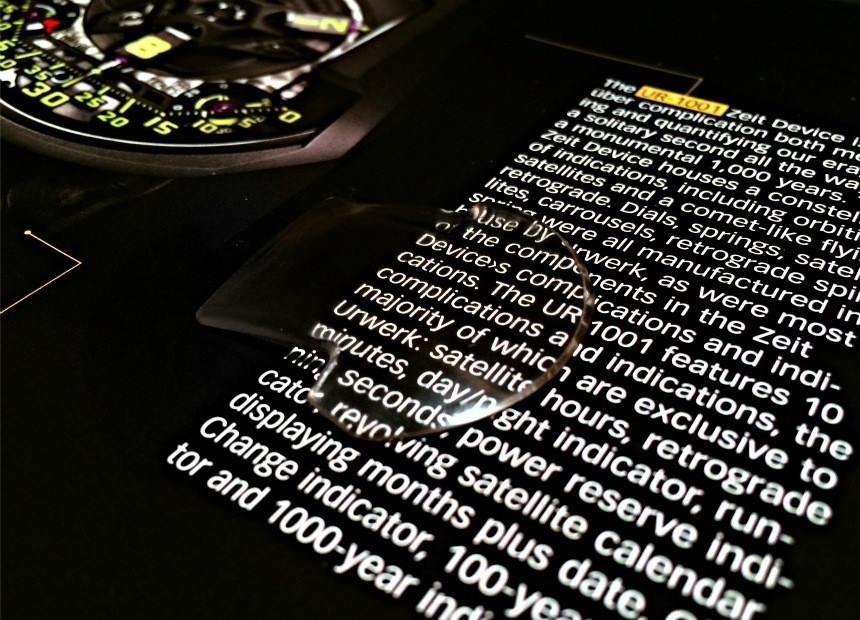
I continued searching for alternatives, and once again, I found myself returning to the wonderful world of 3D printing. A company I had used in the past had begun 3D printing a new material known as “Watershed XC.” This is an engineering grade ABS-like photopolymer which is optically clear and produces very strong and relatively scratch resistant parts. Another feature of this material is that it has a low refractive index; meaning that the image perceived through the glass will not appear magnified or skewed. The piece came out of the machine with a very rough finish which required nearly 10 hours of hand polishing to achieve the desired optical clarity.

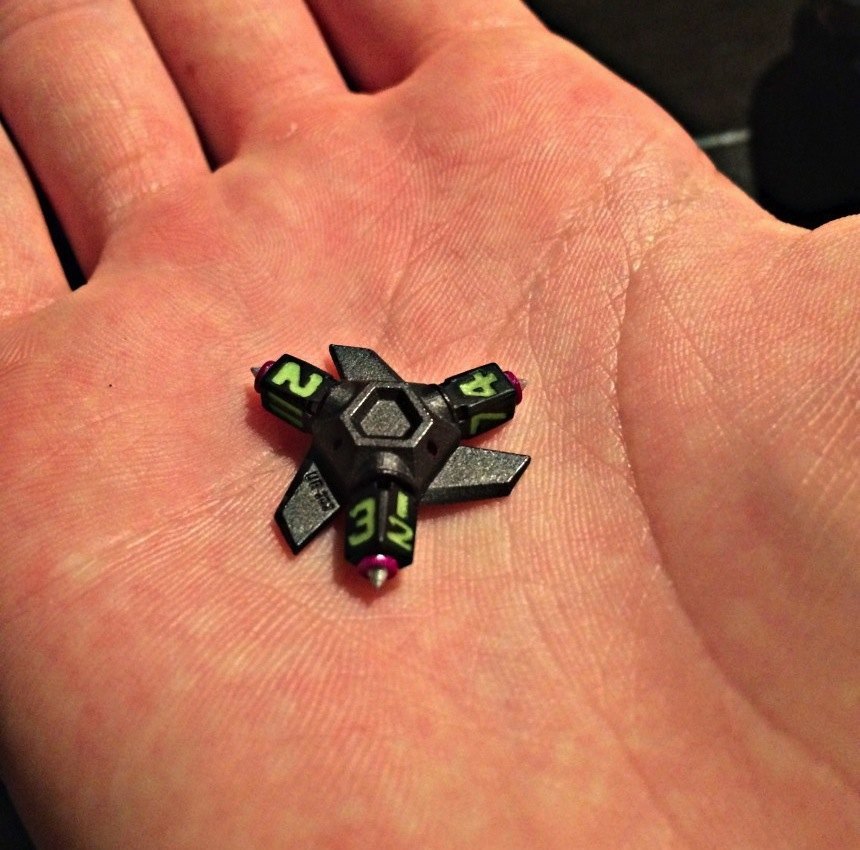
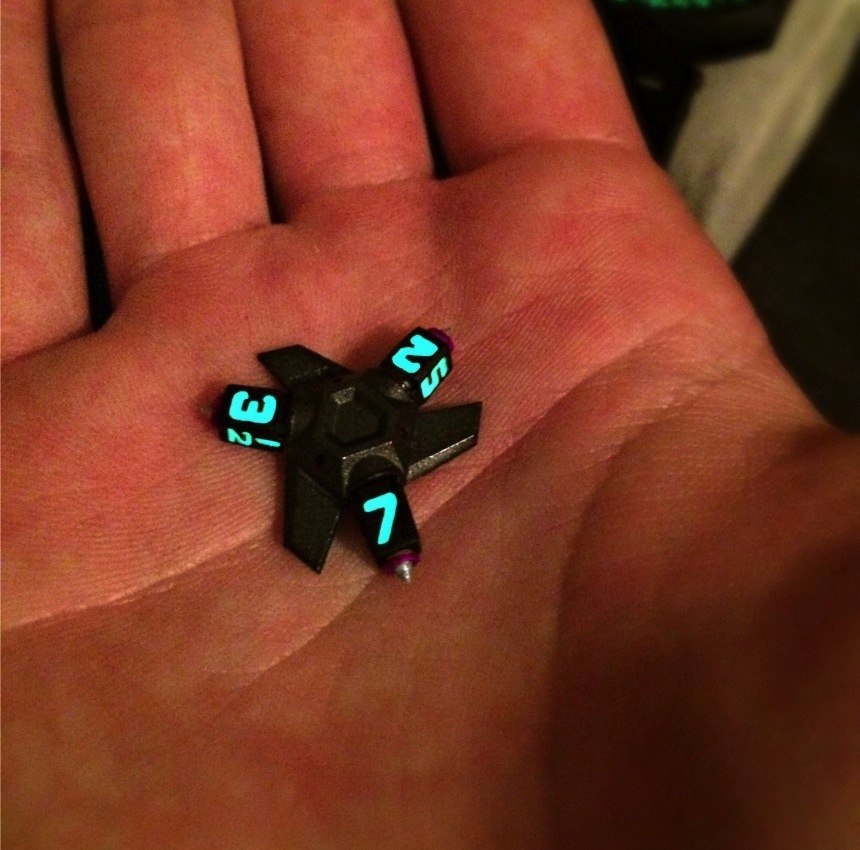
Now that the front glass piece had been finished, the time came to complete the rotor assembly that sits beneath it. The rotor assembly (note that in this case the term “rotor” refers not to the piece winding an automatic movement but the triple-armed, satellite system used to indicate the hours and minutes) on the Urwerk UR-202 is an incredible piece of engineering and is just as beautiful at night as it is during the day. The Urwerk UR-202 has Super-luminova applied to the hour markers on all 4 sides of each barrel, thus, when lit up properly the lume radiates in all directions, and it is quite a sight to see in person.
That being said, I am not an expert at applying lume, especially on the small components of the Urwerk UR-202. Once the moon phase, minute dial, and all the barrels were machined with the proper engravings, they were sent off to my good friend Bolun Du who does some fantastic luminescent work. We worked together to find the best match to the lume on the Urwerk UR-202, both as it appears during the day, and when it is glowing at night.
