When it comes to photography — shooting watches or otherwise — how many megapixels does a photographer really need? Sure, it’s the singular metric that’s more or less defined a veritable arms race in the photo-taking industry since the advent of the digital camera. But does it really matter? Can a 20 megapixel Nikon D500 from five years ago produce the same quality of image as Sony’s newest 64 megapixel monster? The answer is obviously as complicated as it is entirely subjective, because just about anything can be a deadly weapon in the hands of a trained assassin, right? Ultimately, the secret to creating beautiful images on either platform isn’t the size of the camera sensor, or even the lens attached to the camera, though both of those elements are certainly critical. Even still, the single most important element of photographing watches is actually quite a simple one: light.
Presented using lighting tools from our friends at Profoto,
whose commitment to light shaping excellence today
inspires the future of exceptional imagery tomorrow.
Why now? Well, with most of the world currently under mandatory shelter-in-place orders, we thought it was a great time to pick the conversation up around watch photography — particularly after surveying our Editorial team to see what new skills they were pursuing with all the extra down time. A common thread among creators during times like these is that we are left with ample time to — well, create, in hopes of broadening and sharpening our respective skill sets for when it’s time to get back out there.
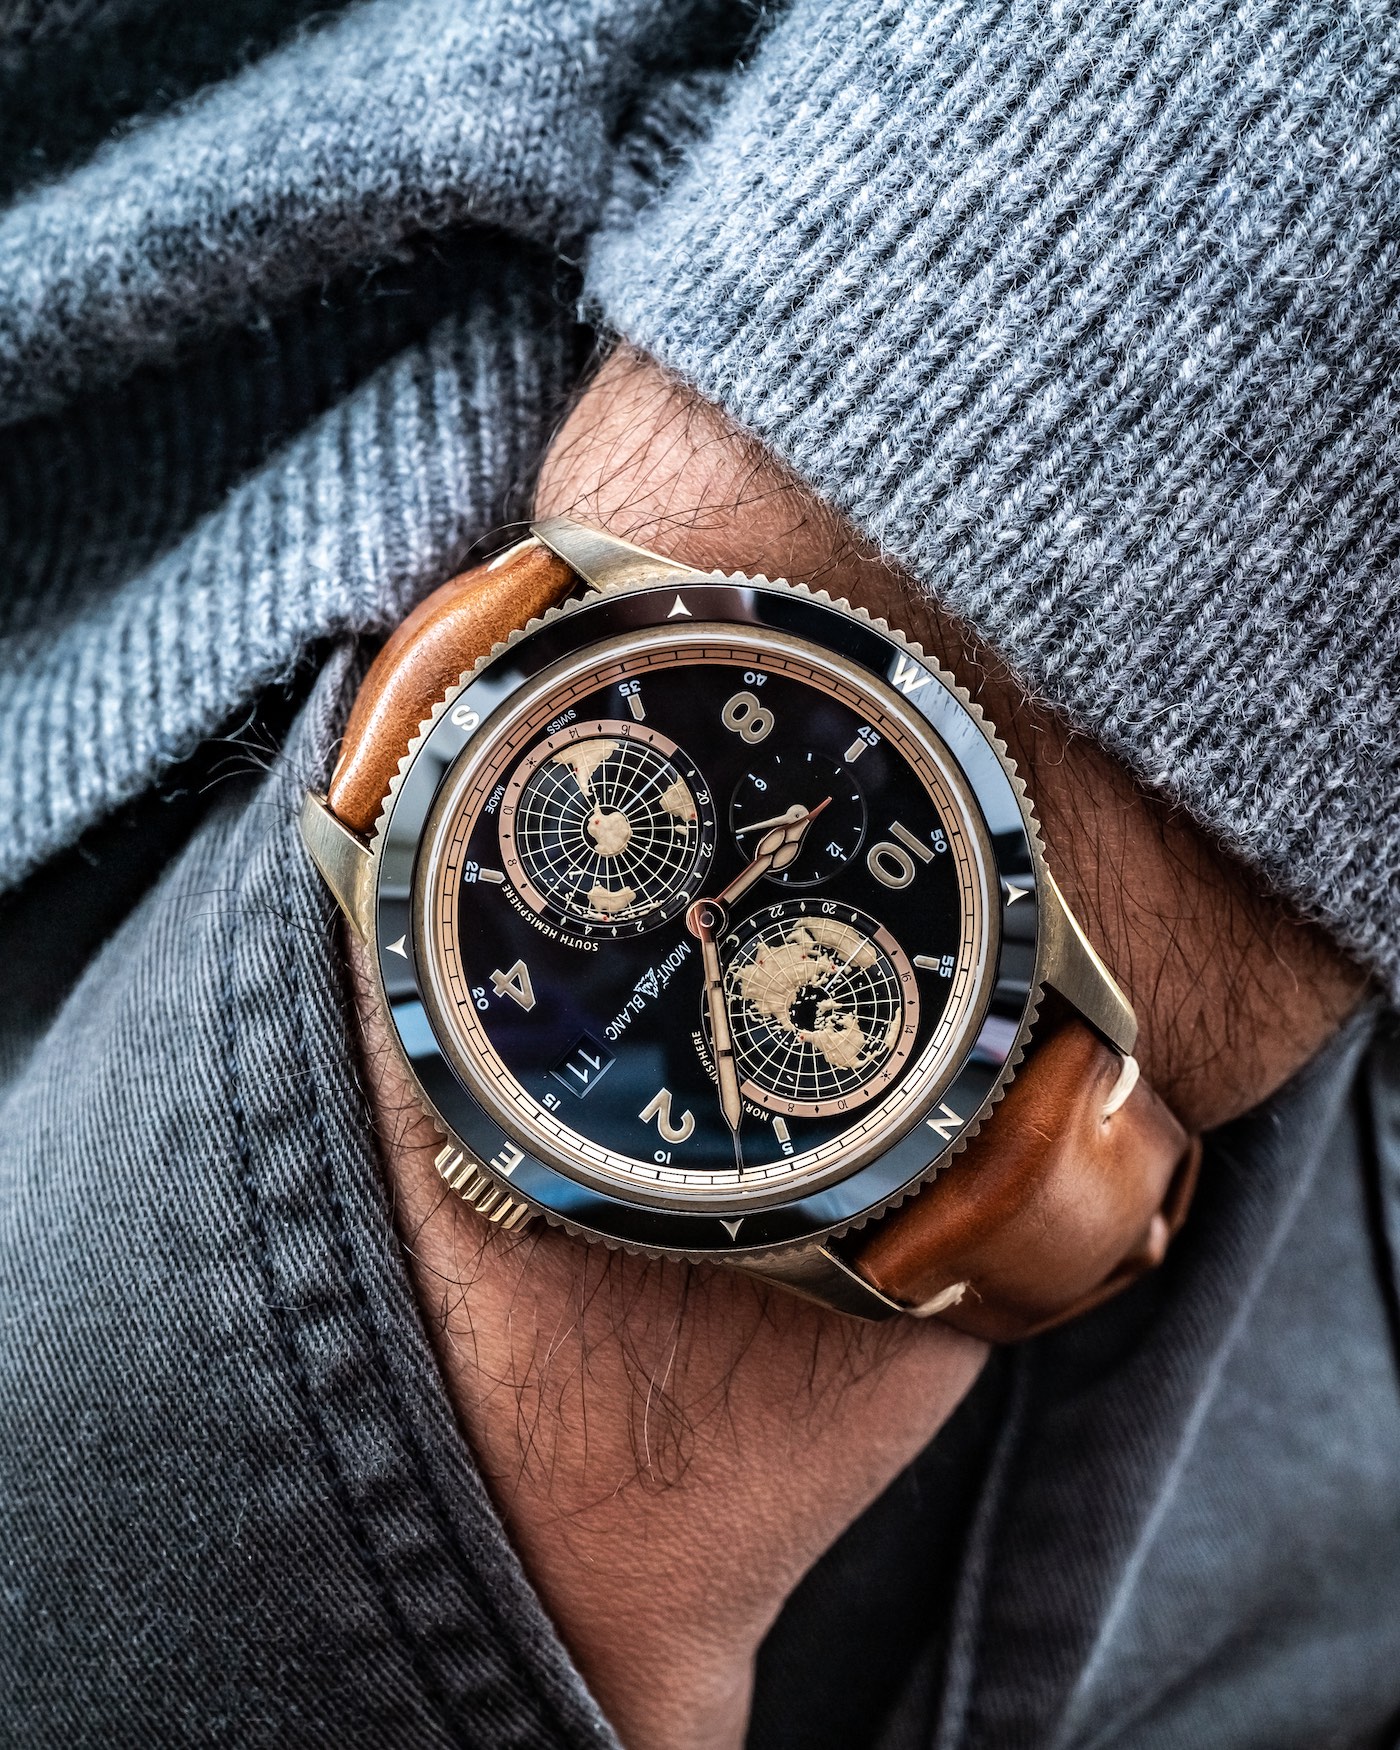
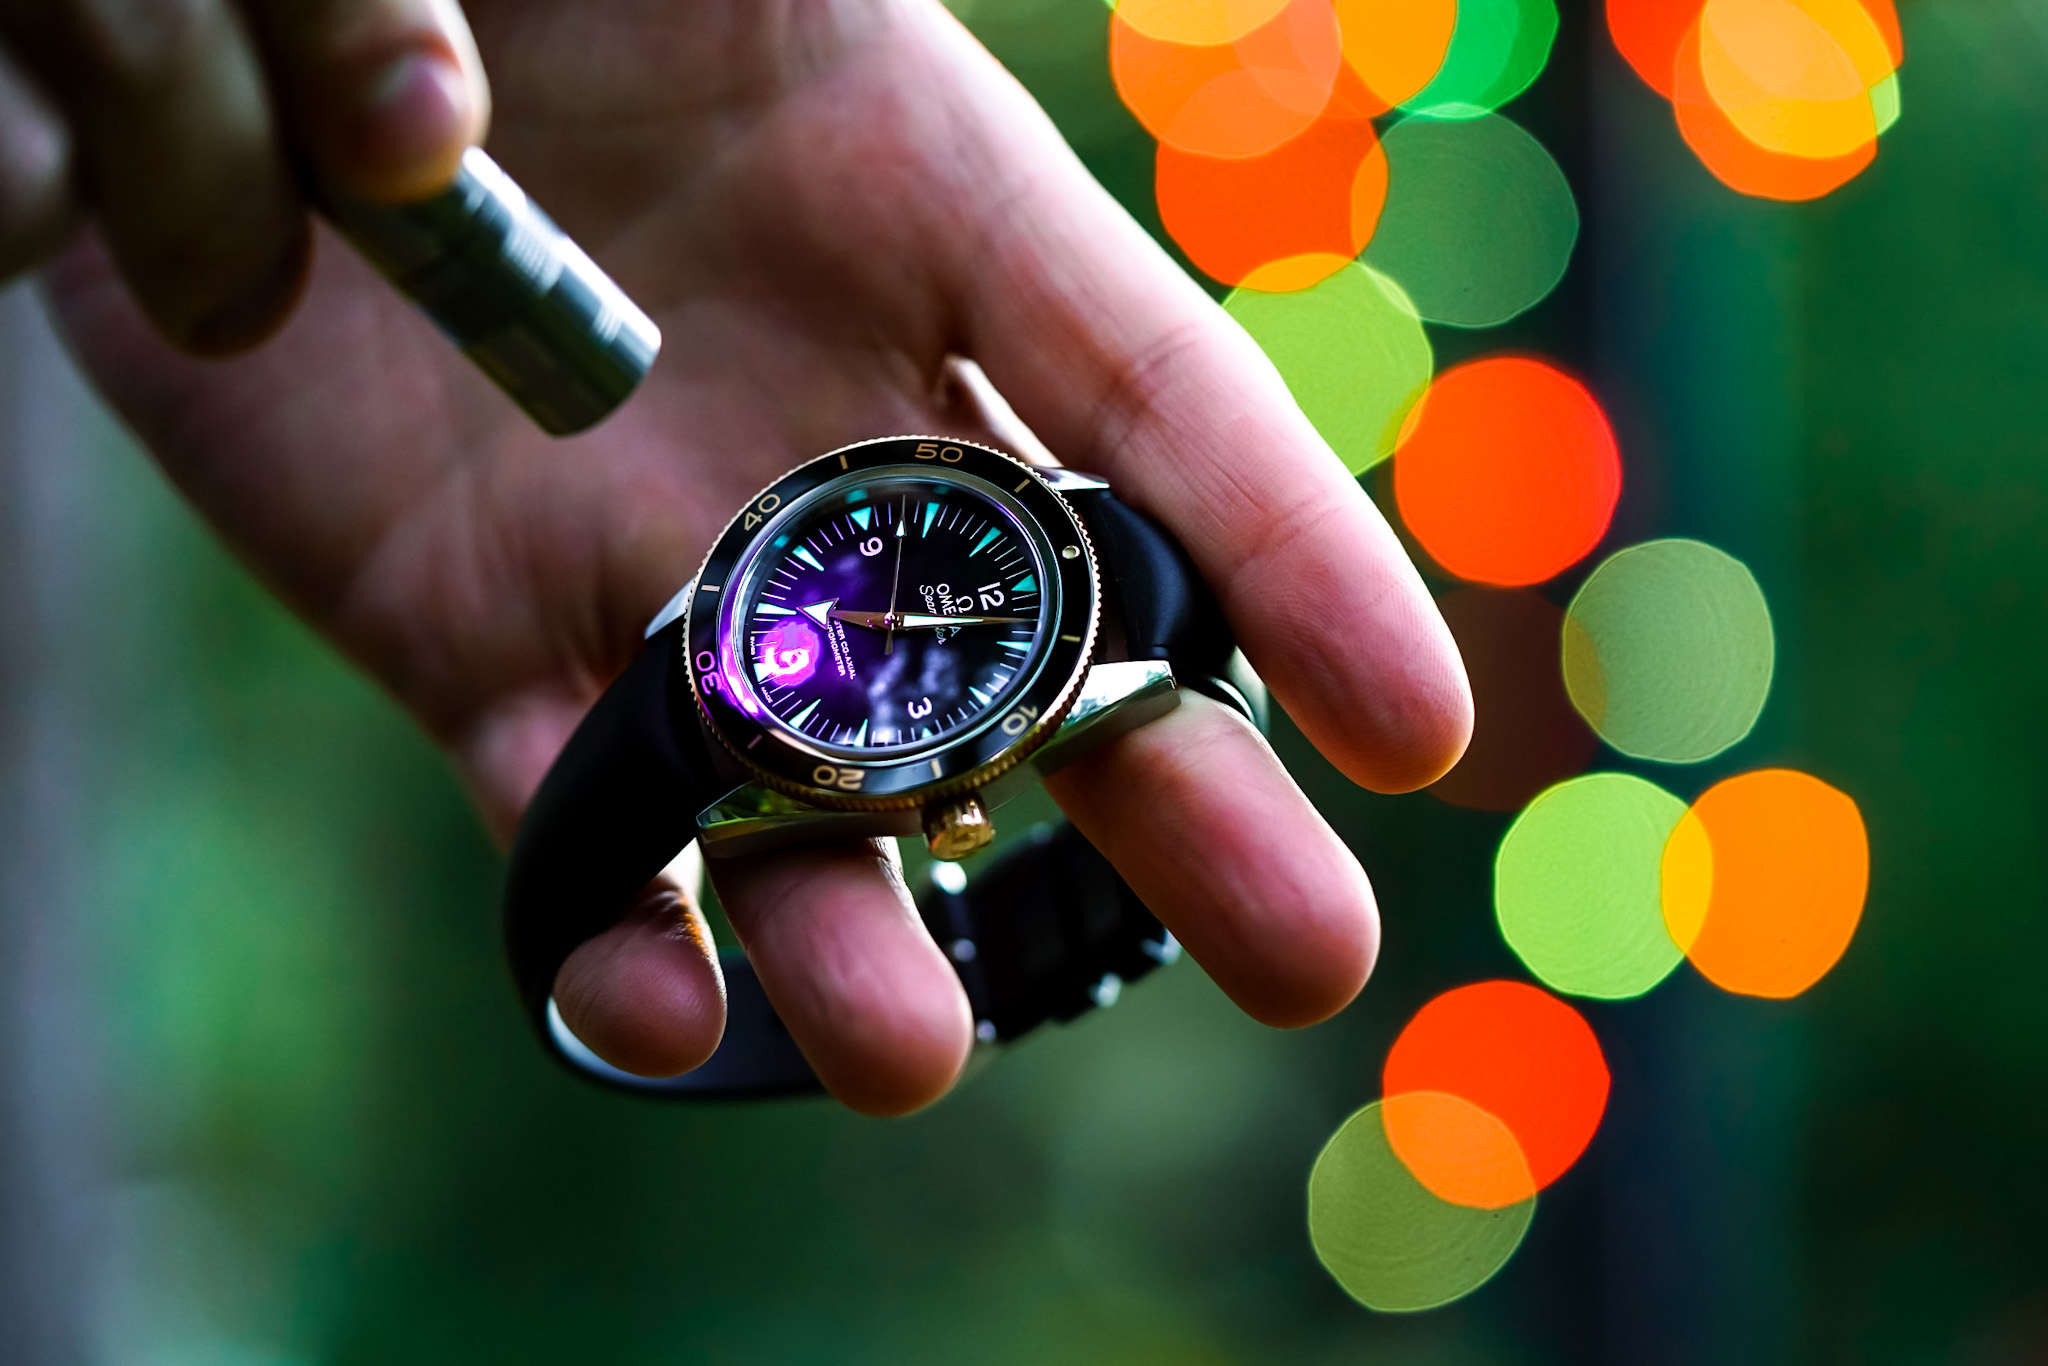
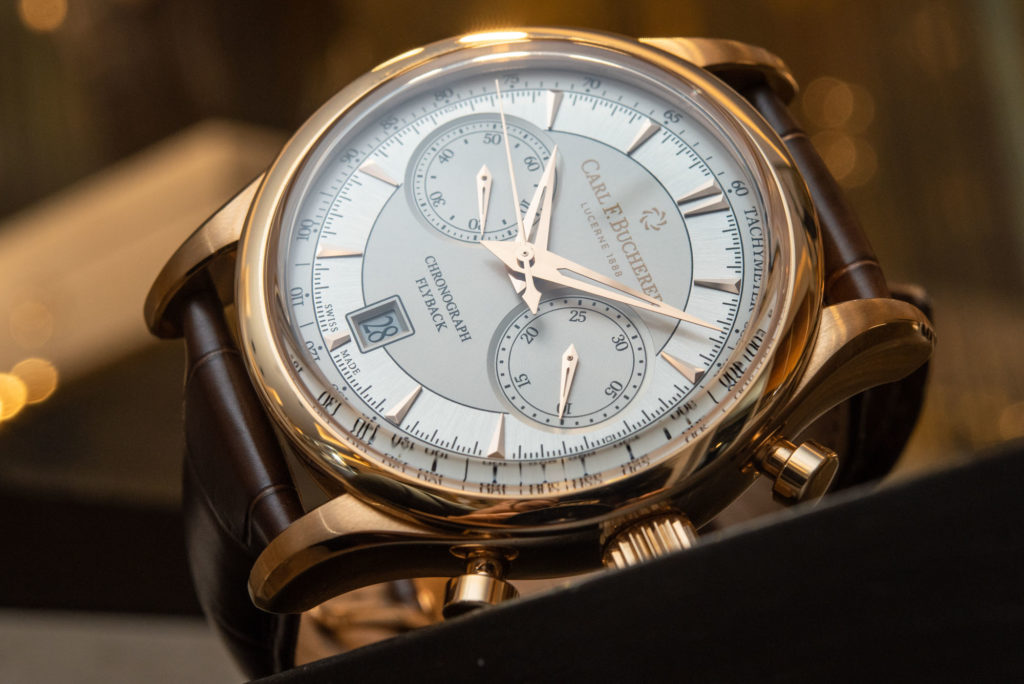
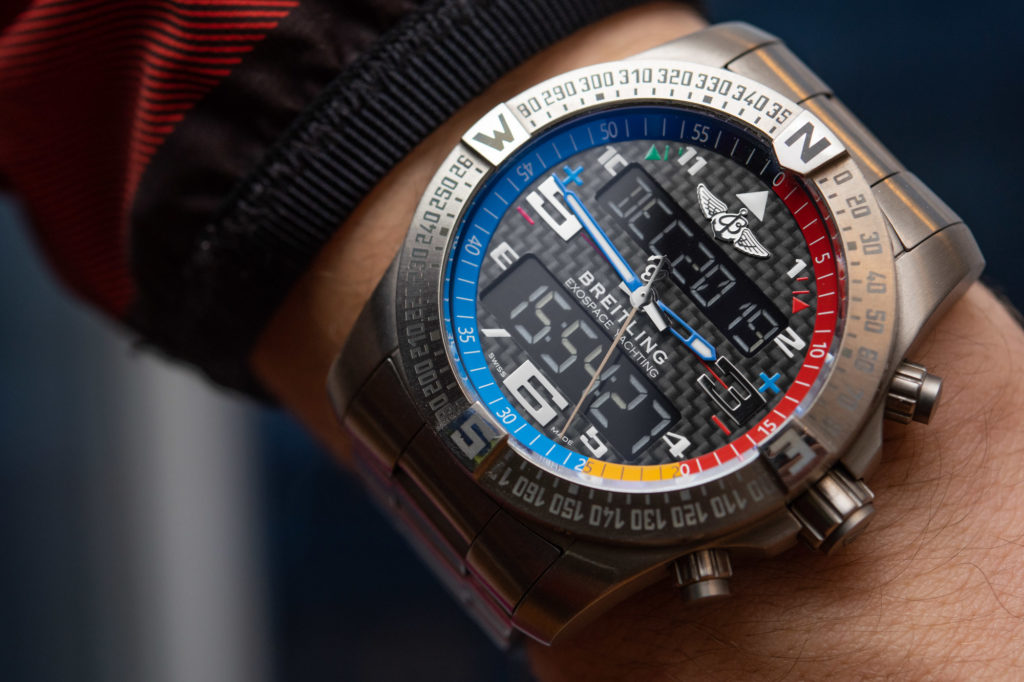
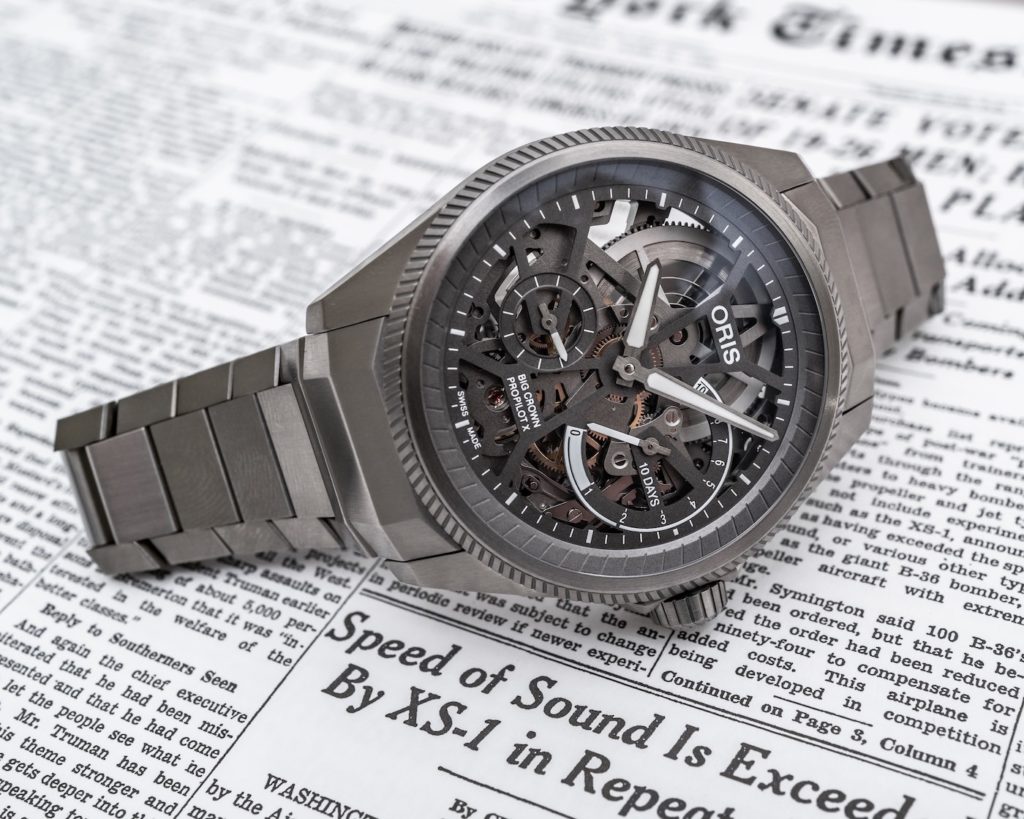
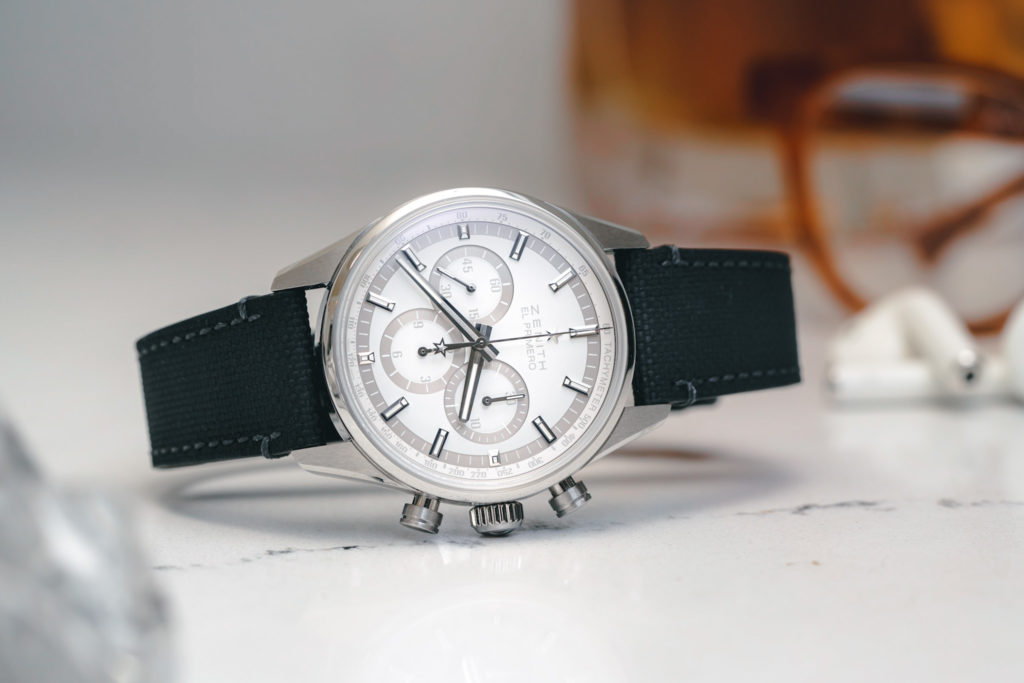
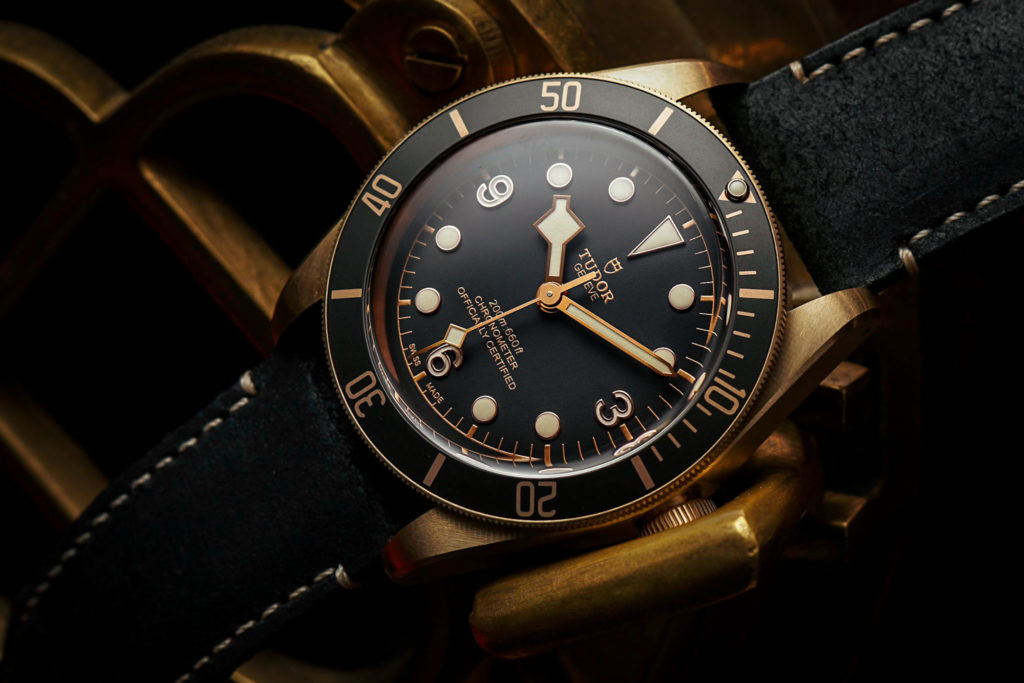
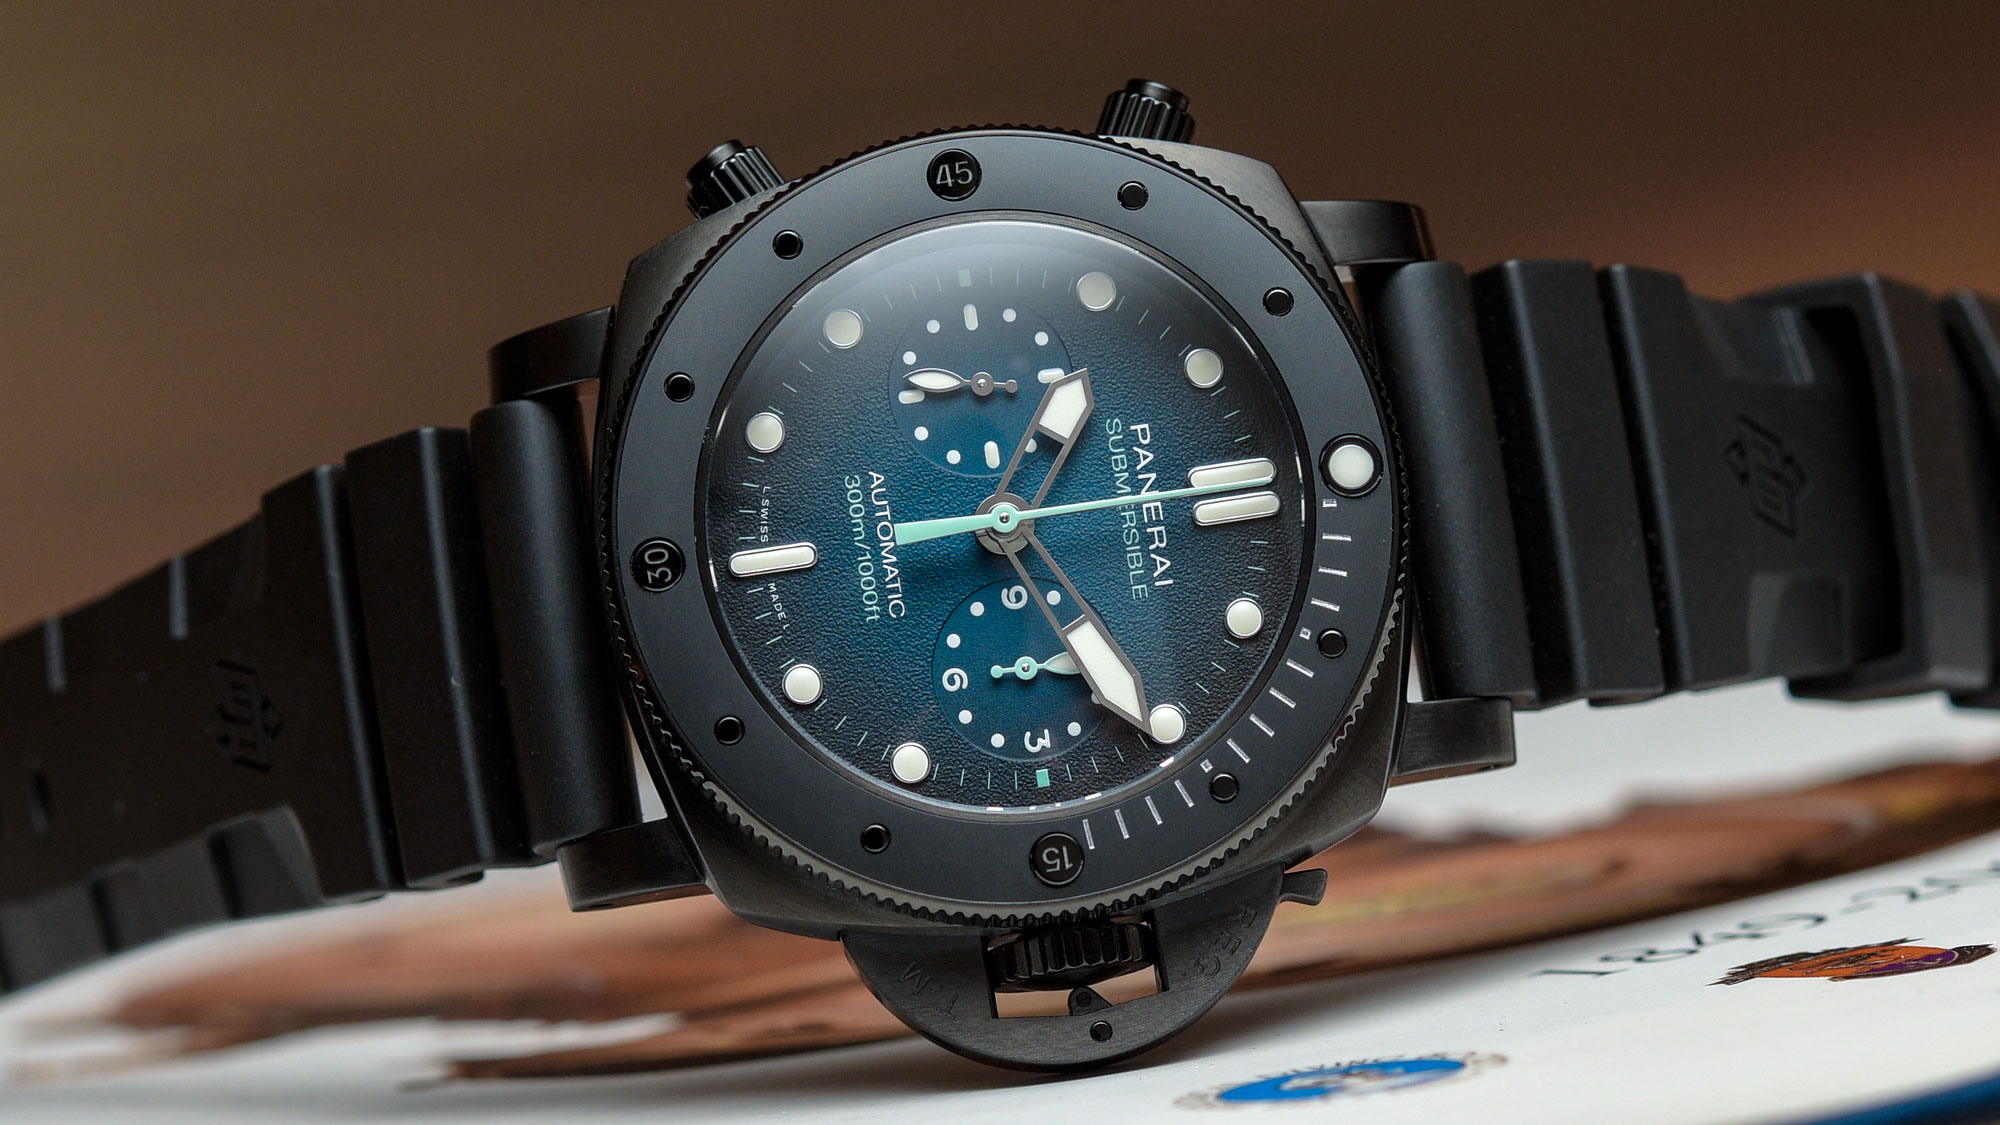
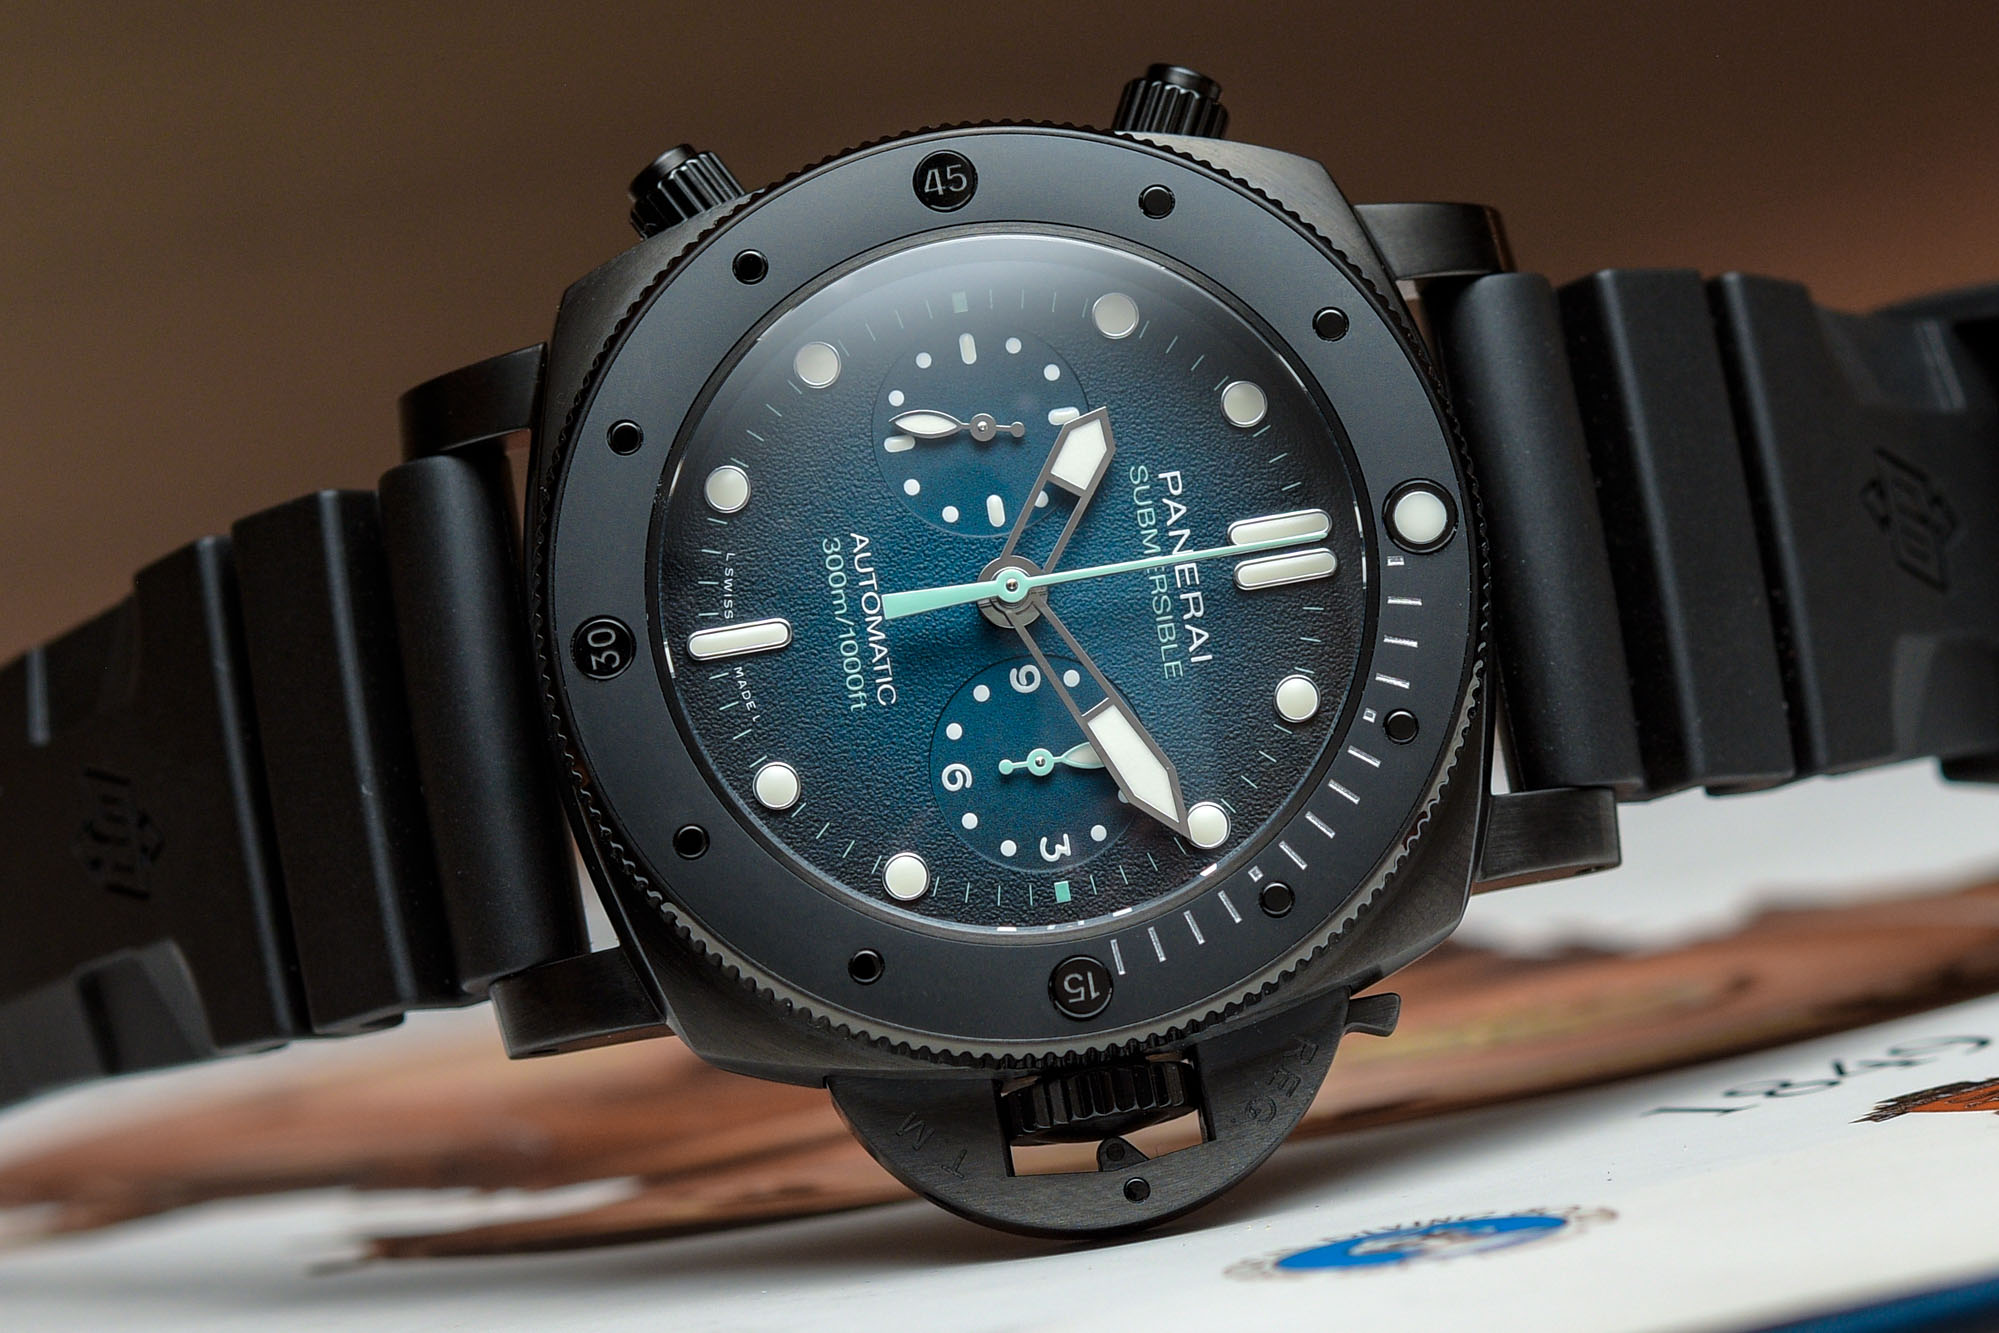
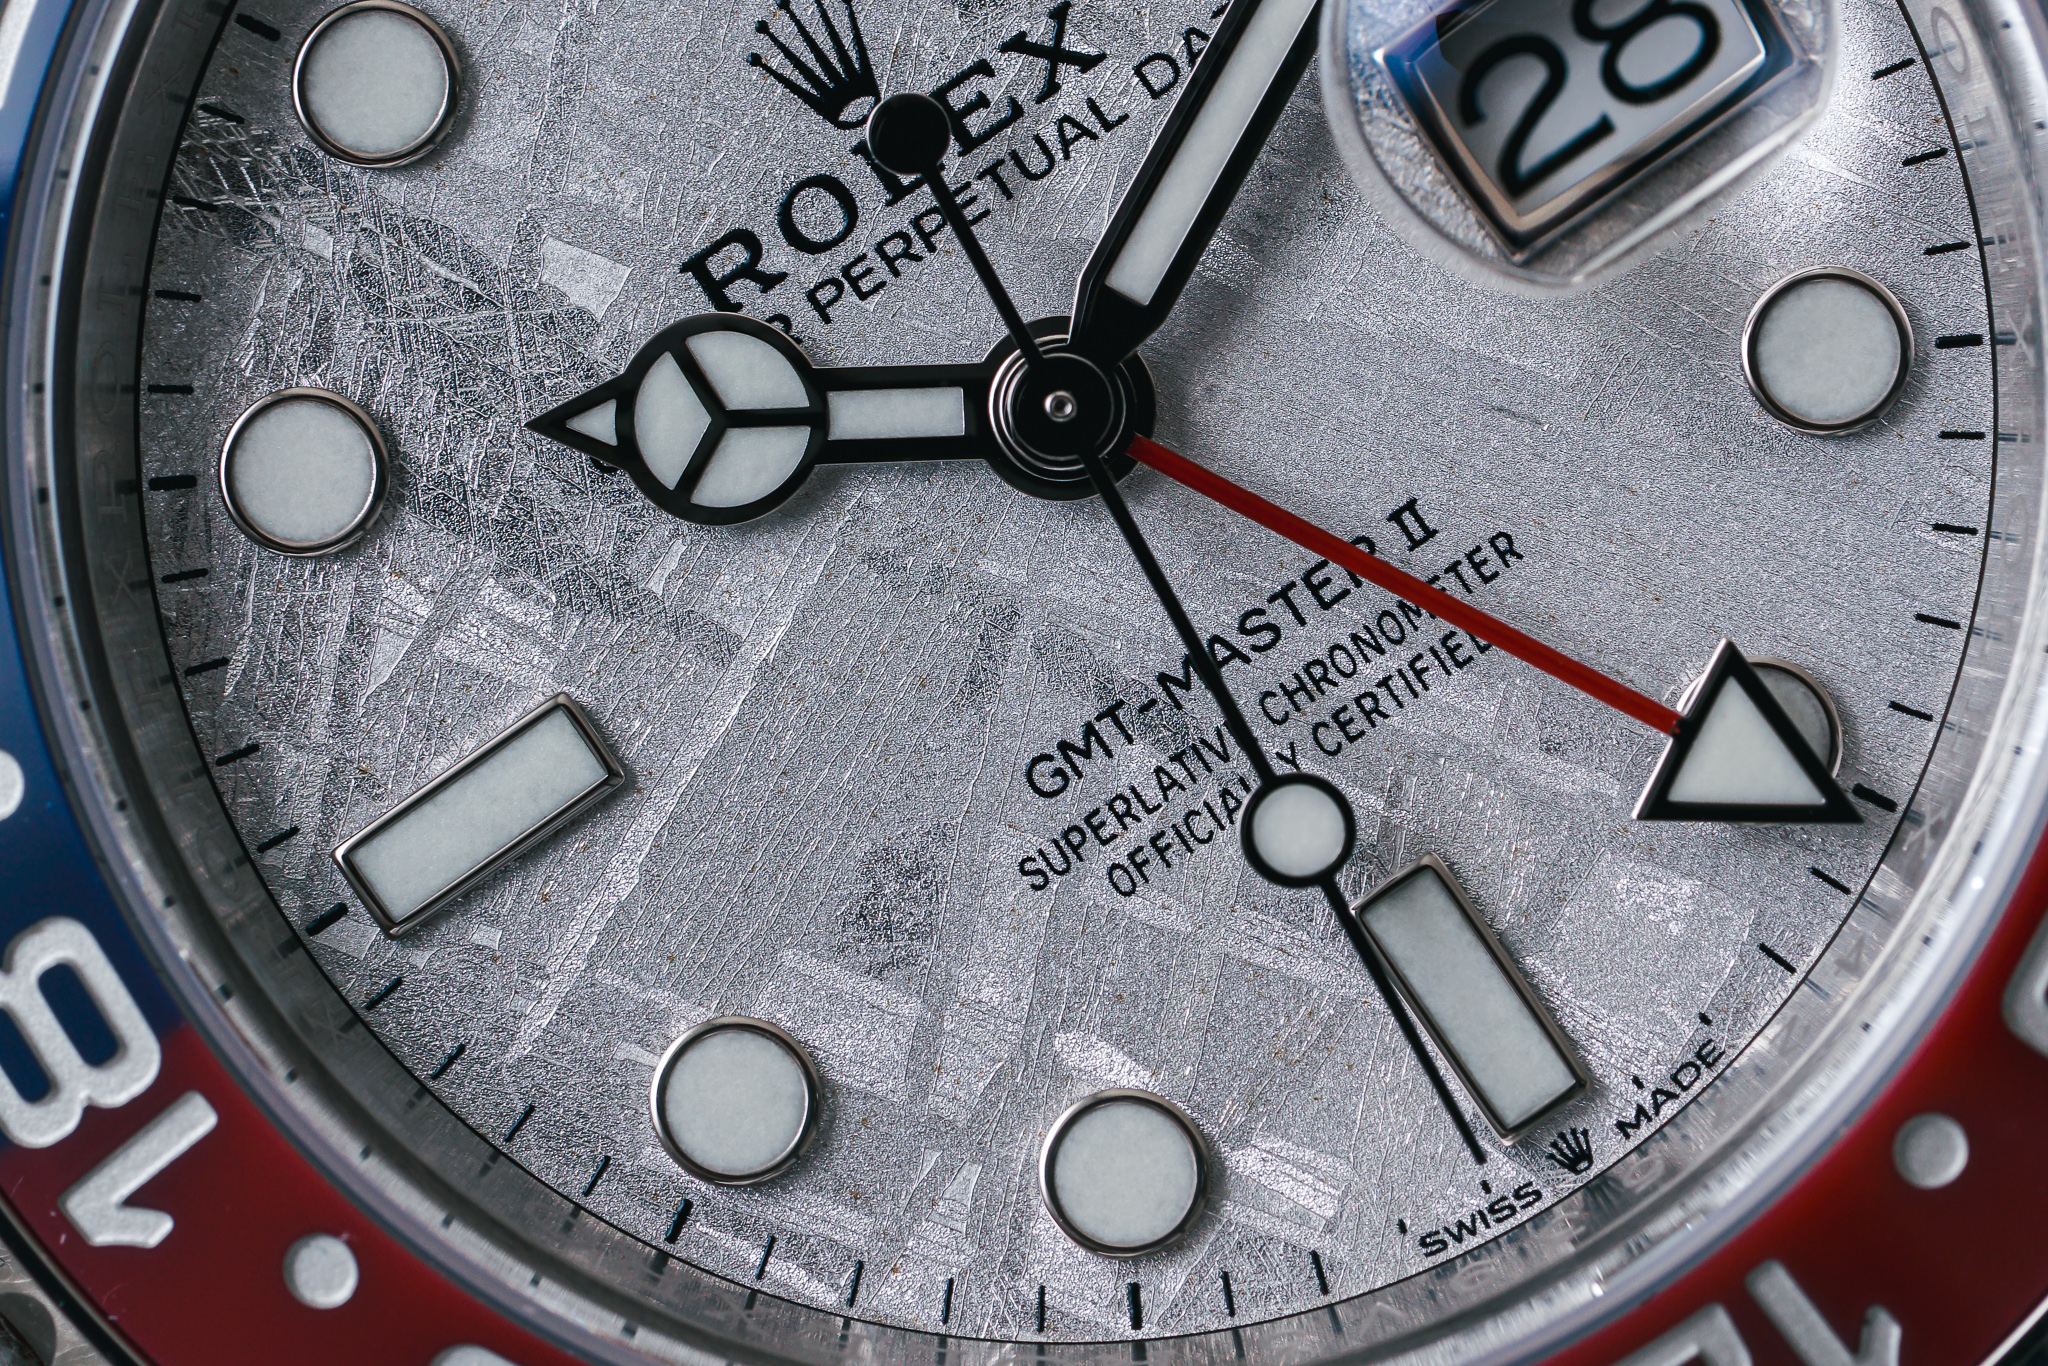
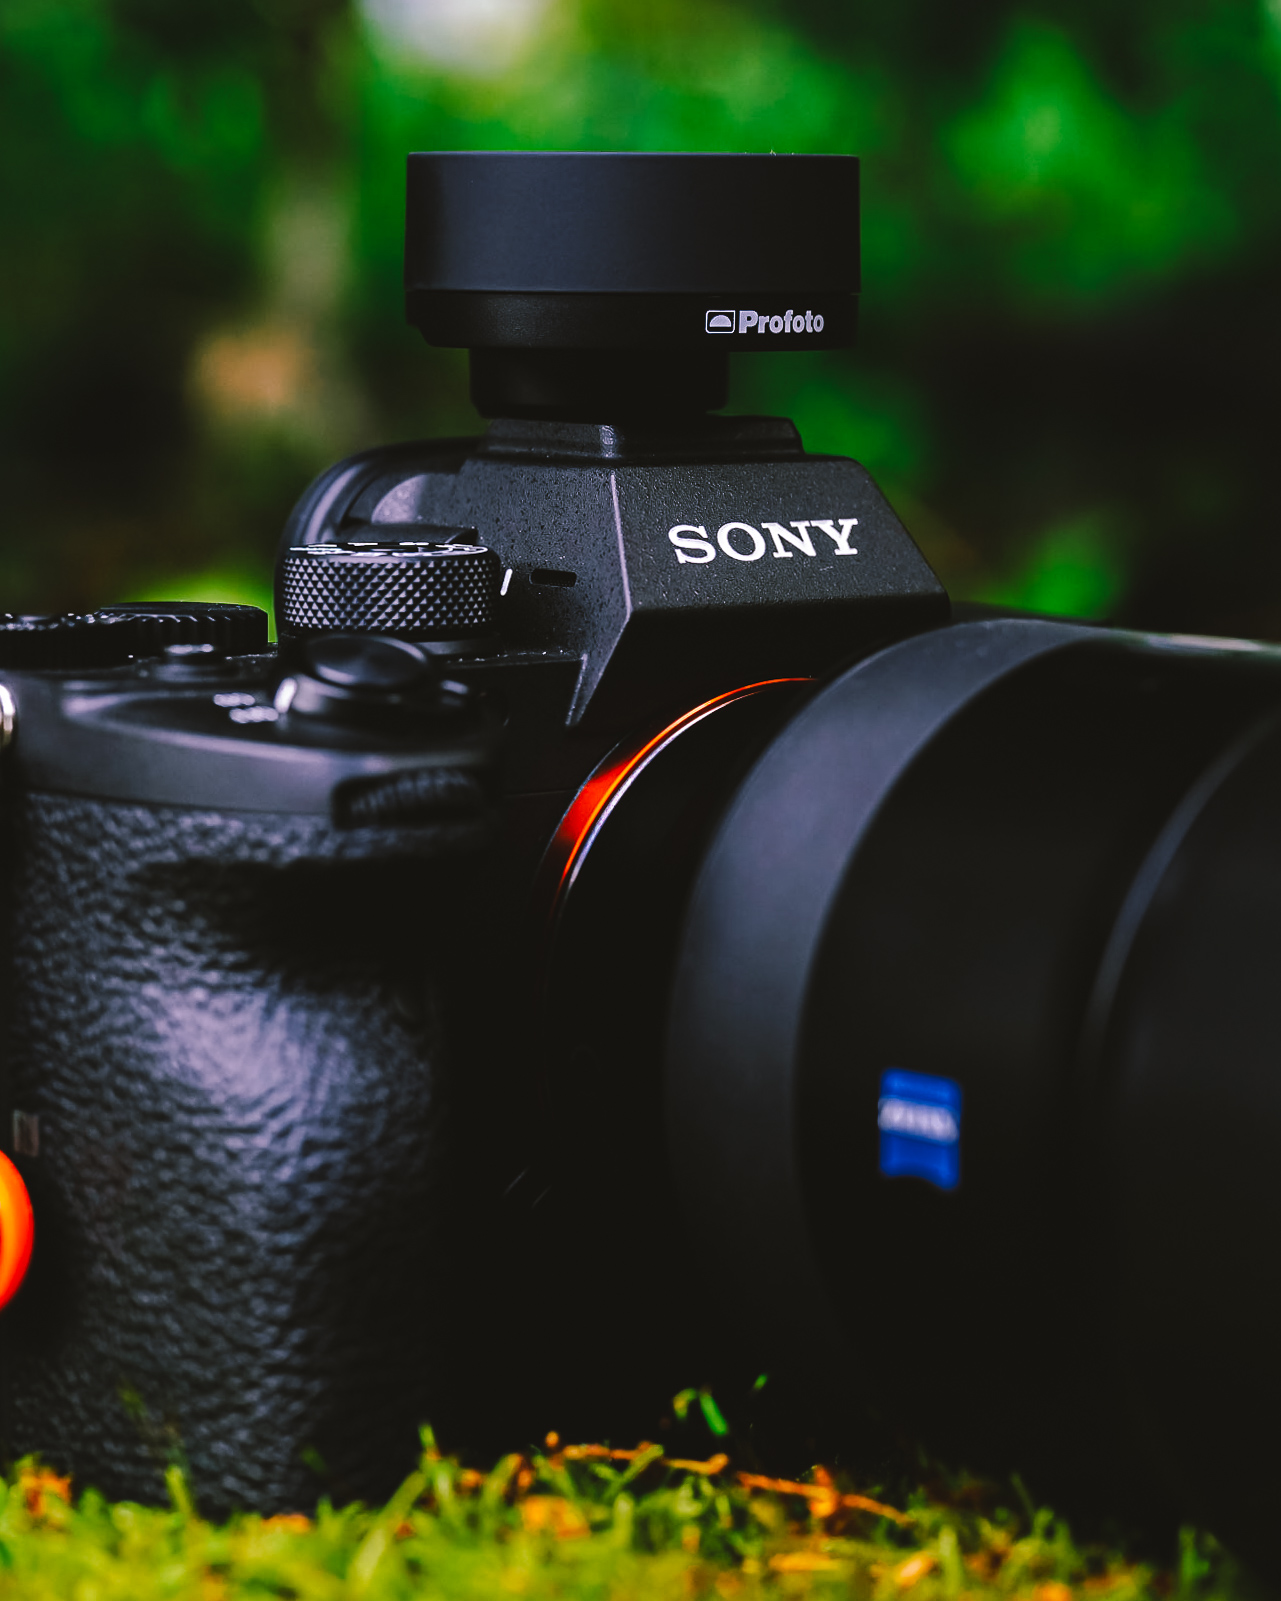
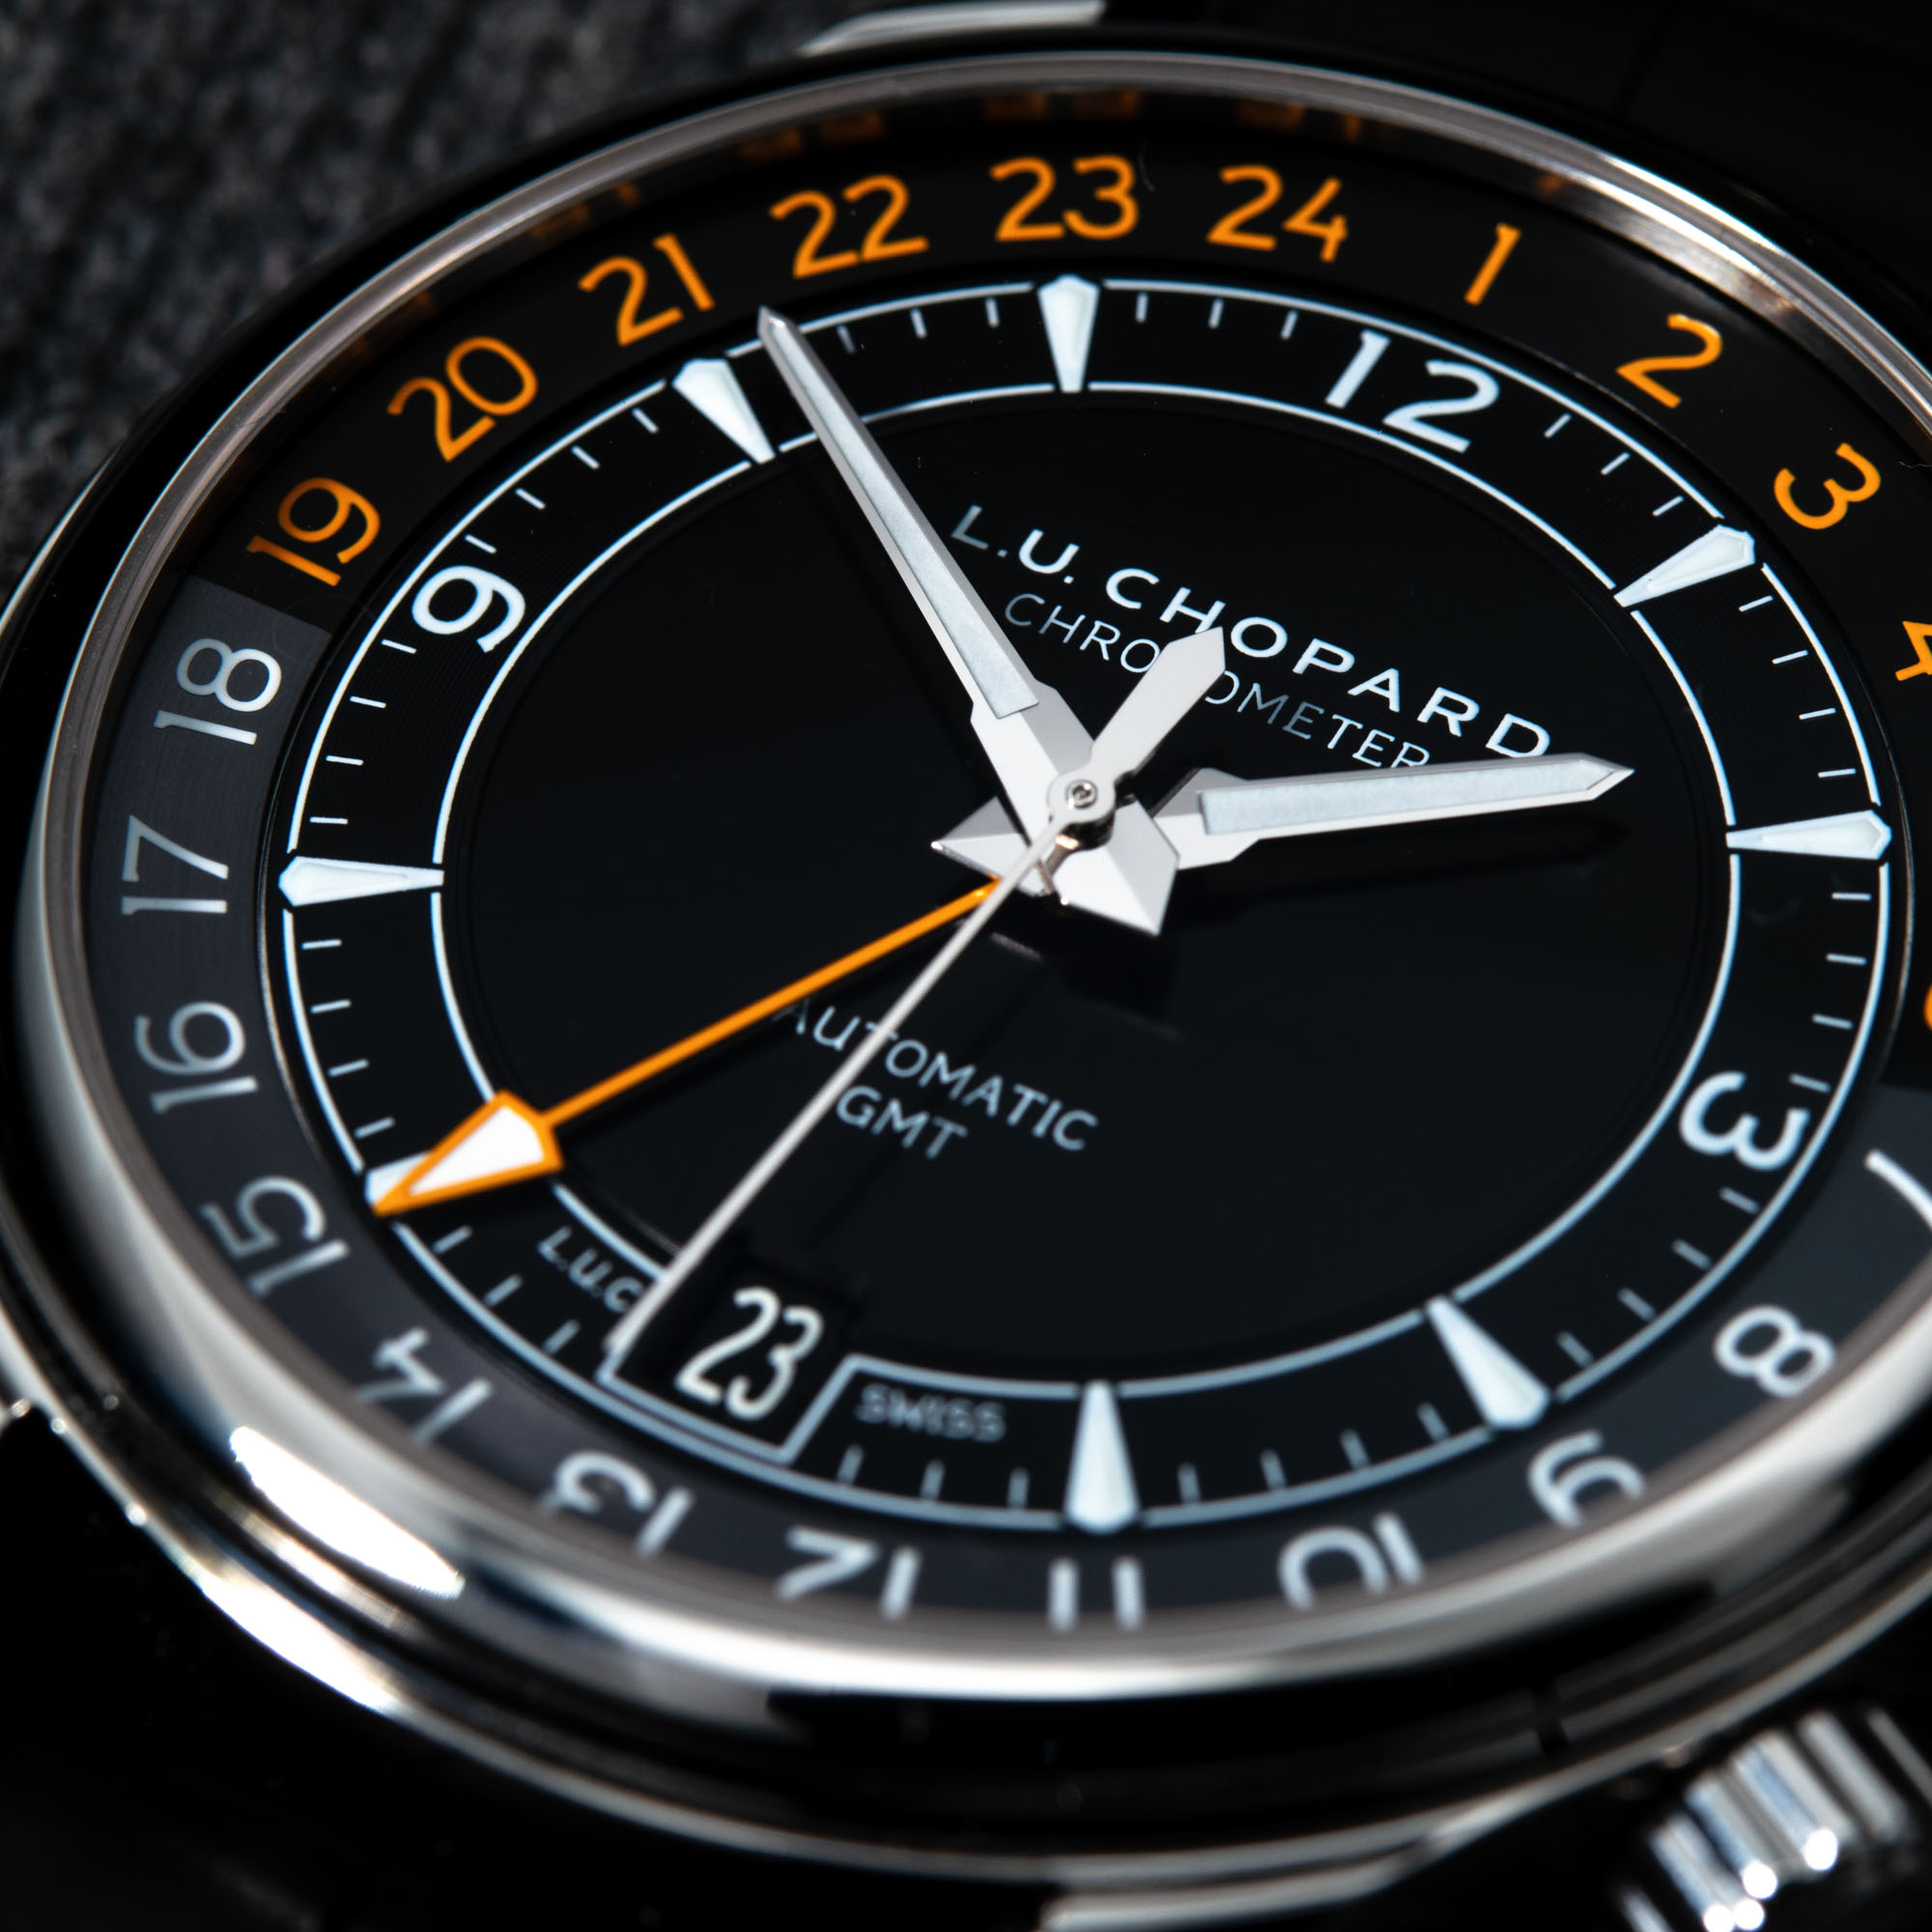
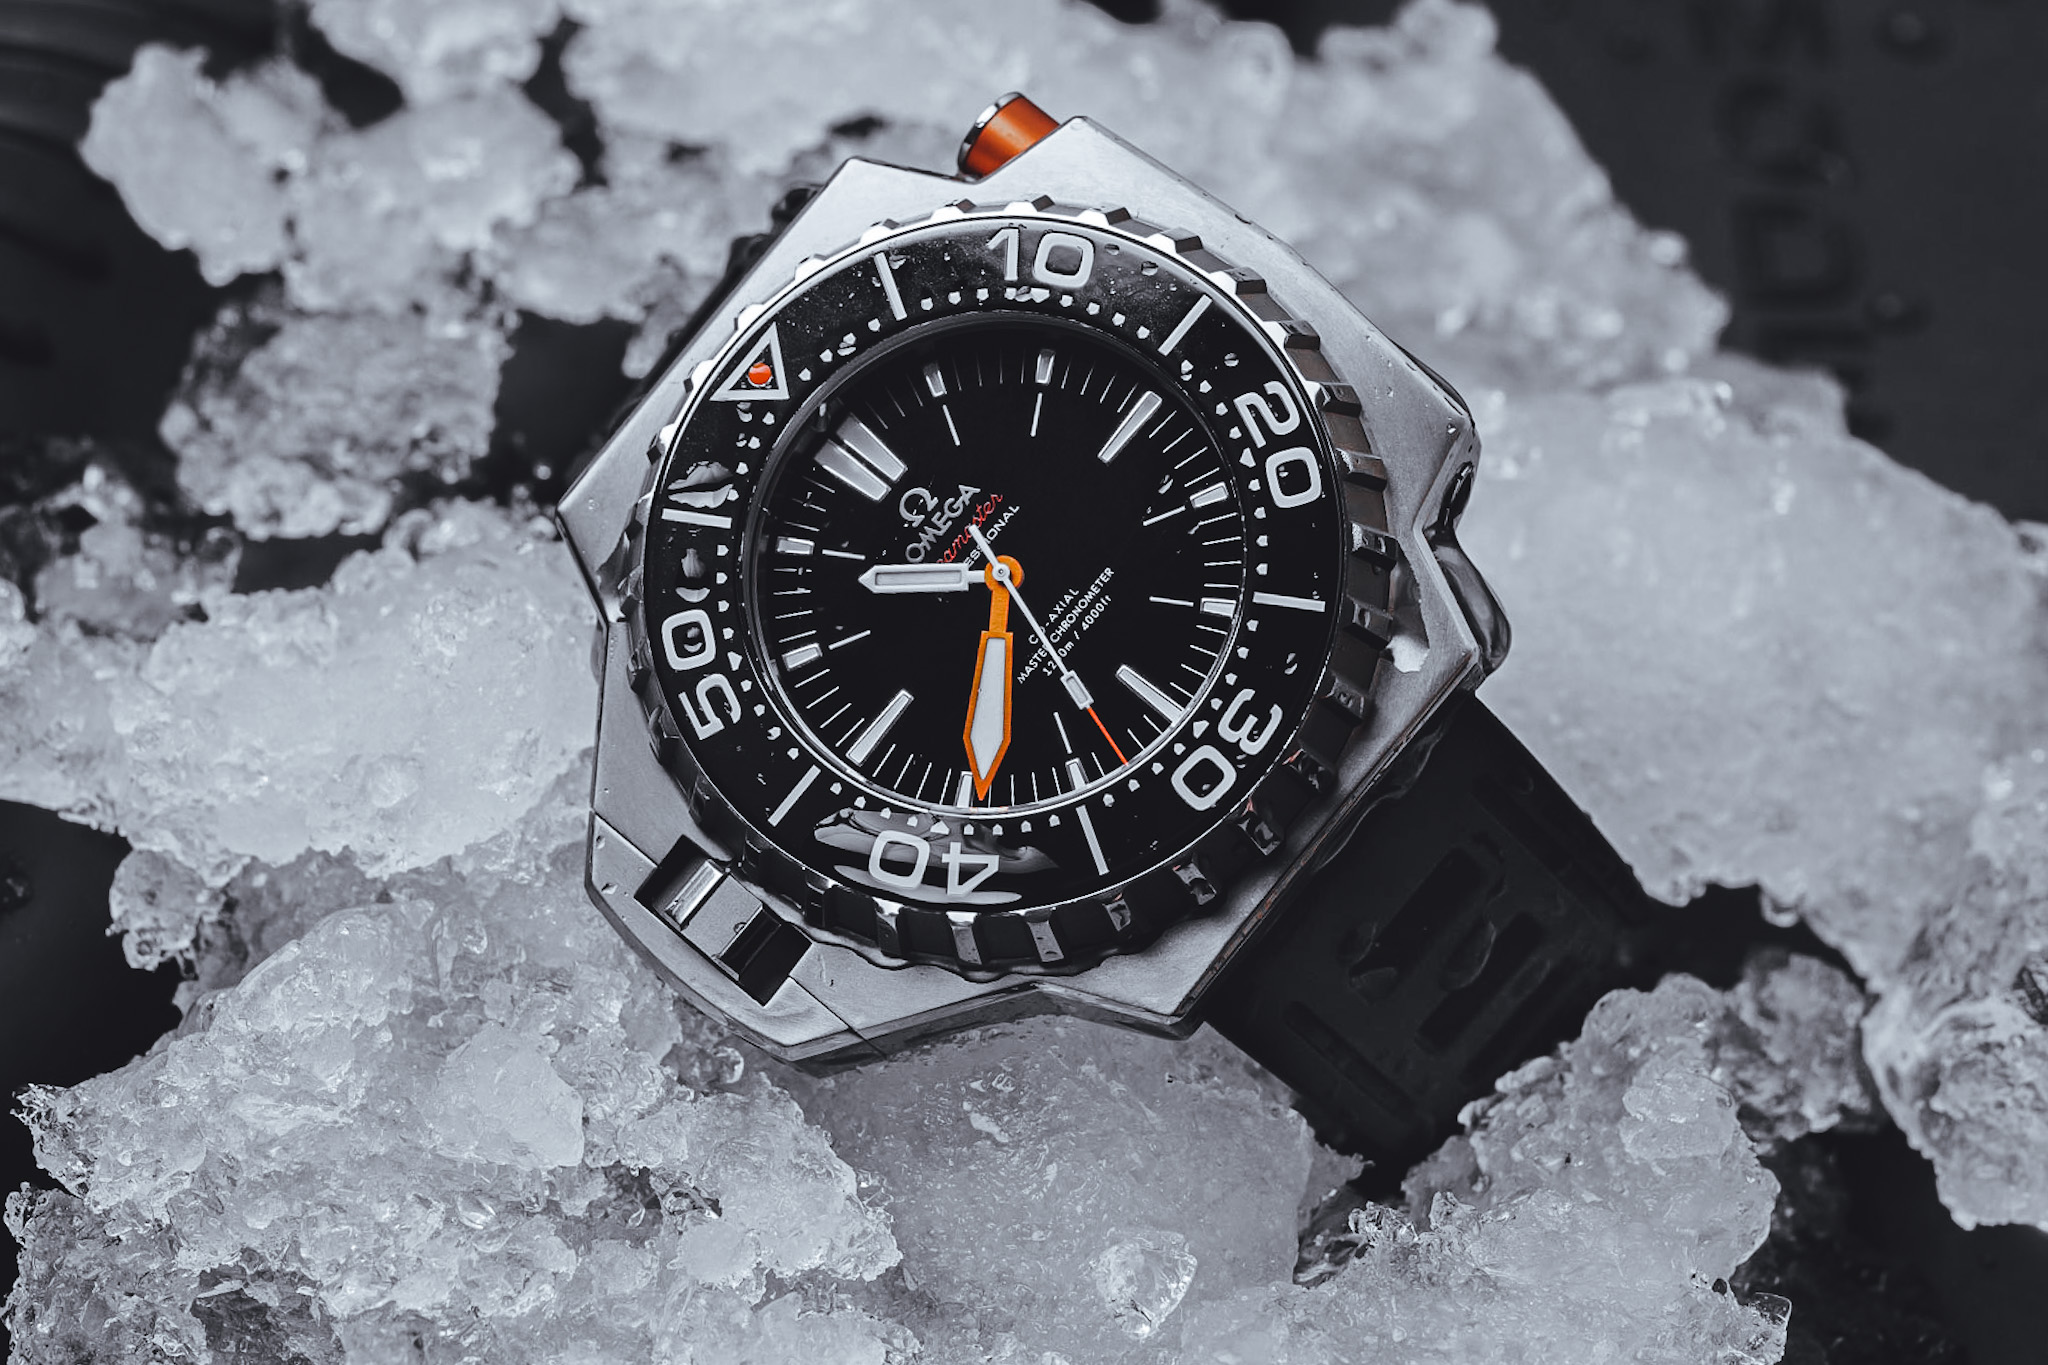
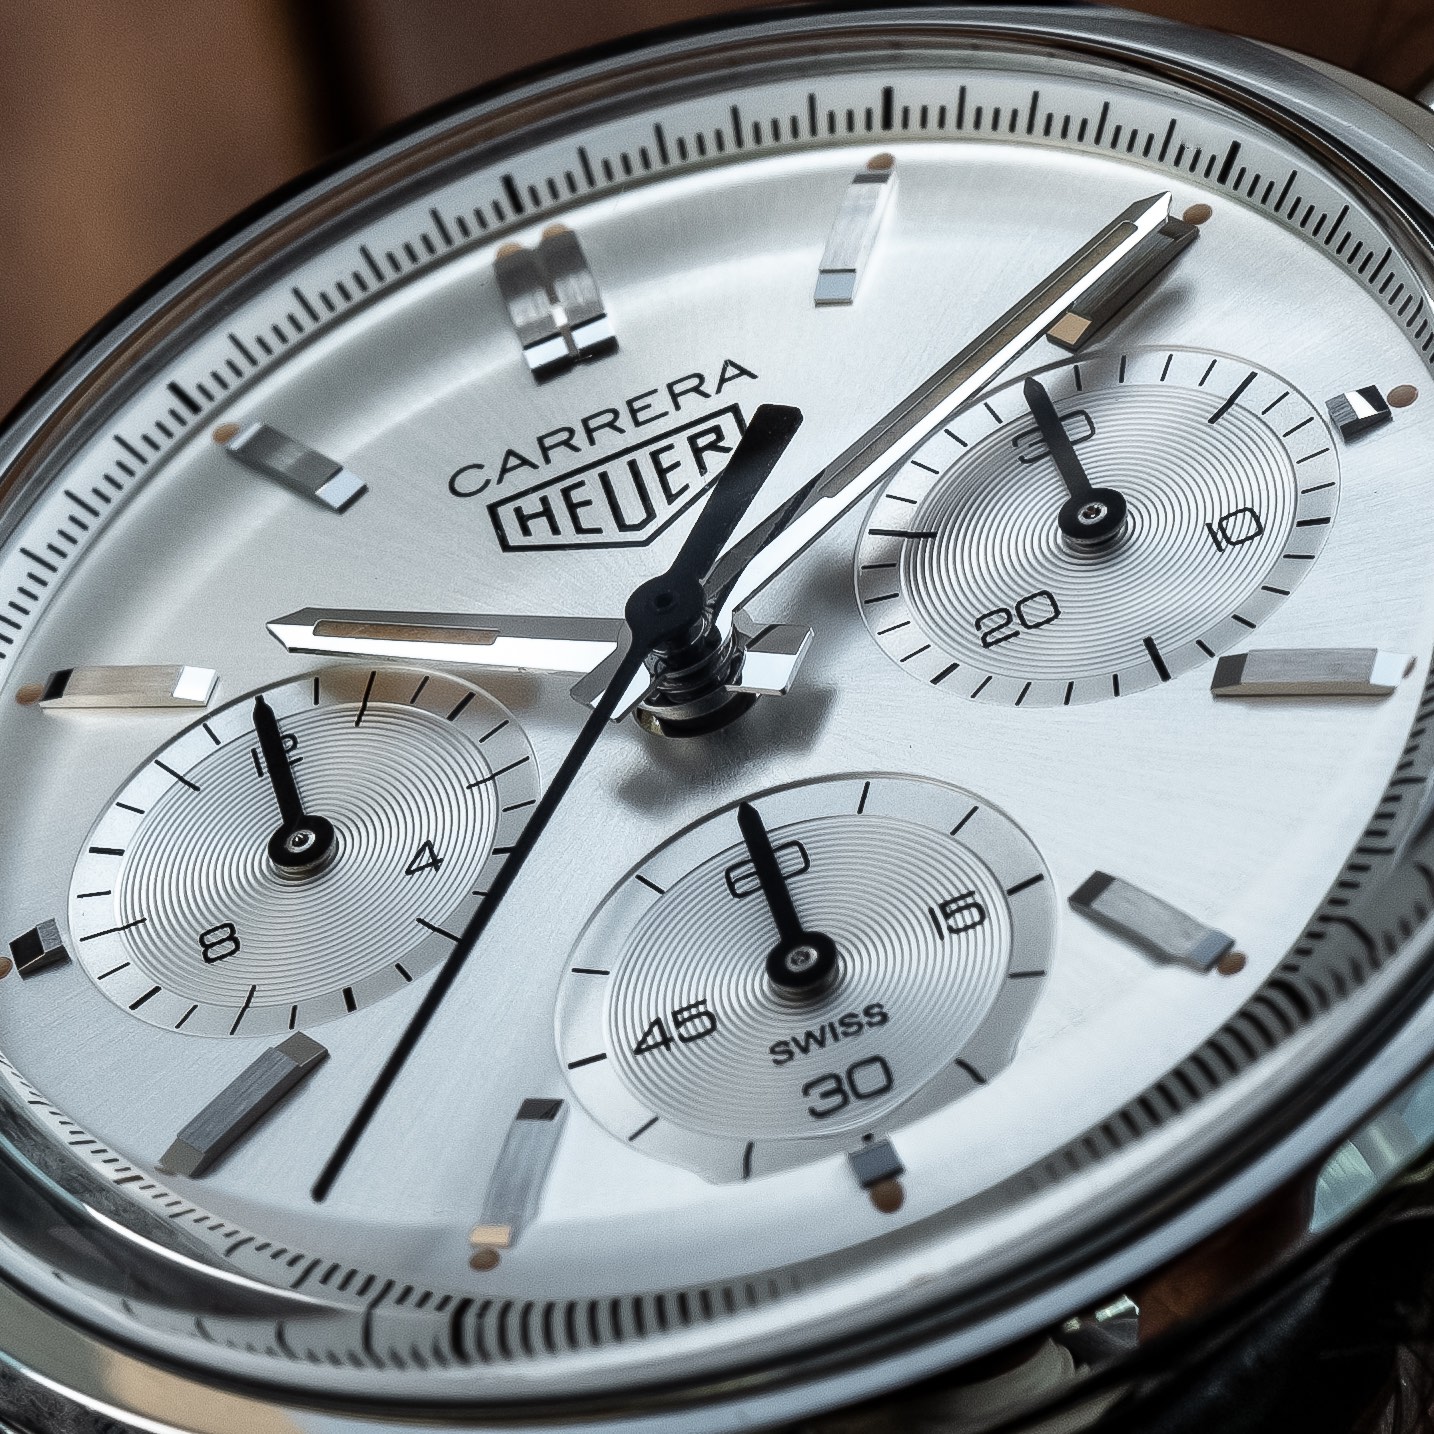
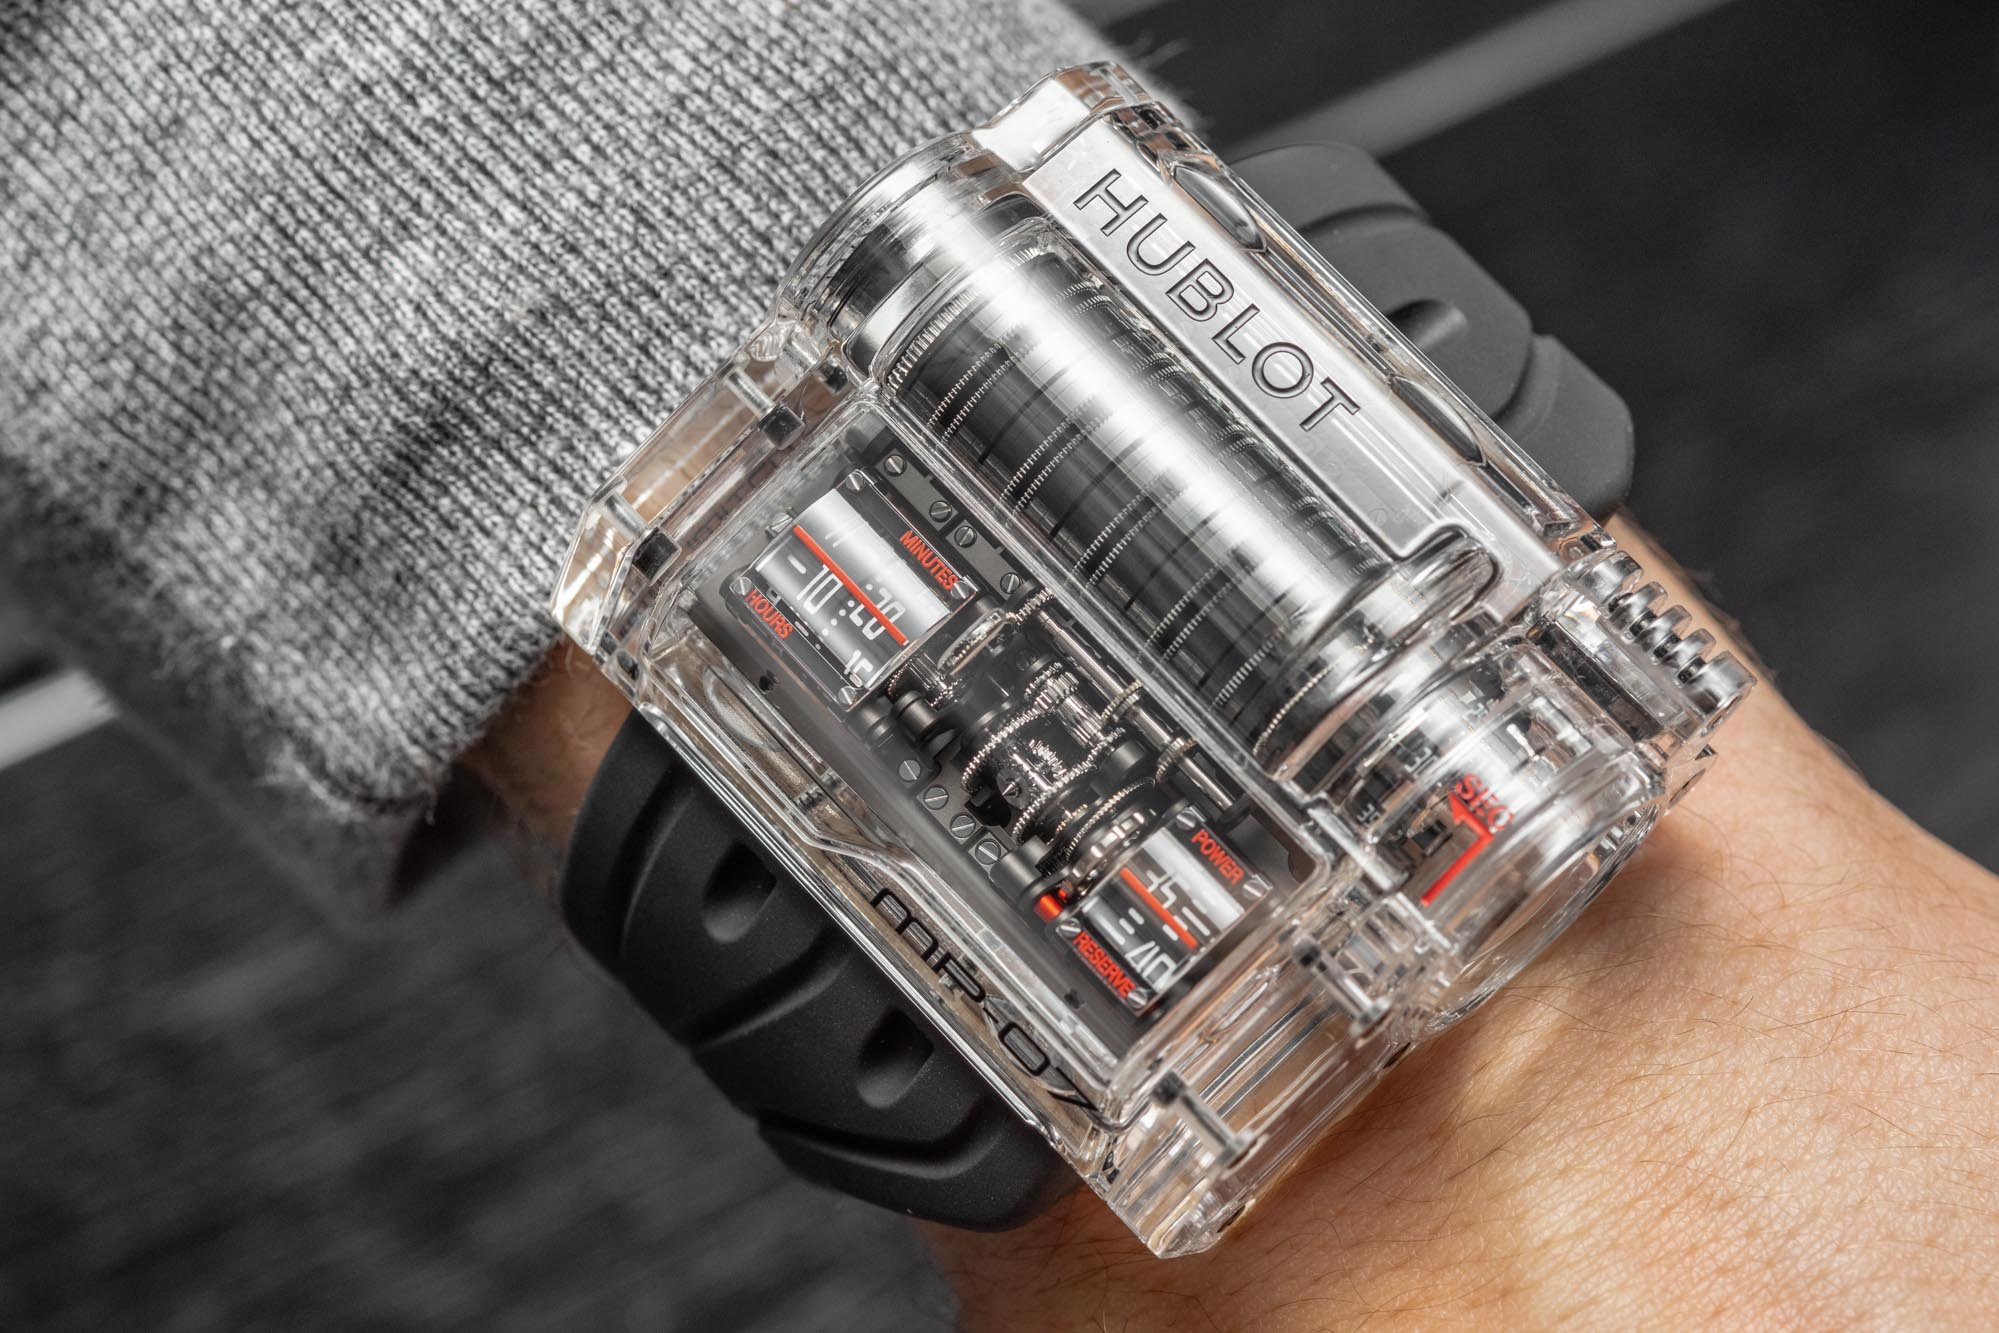
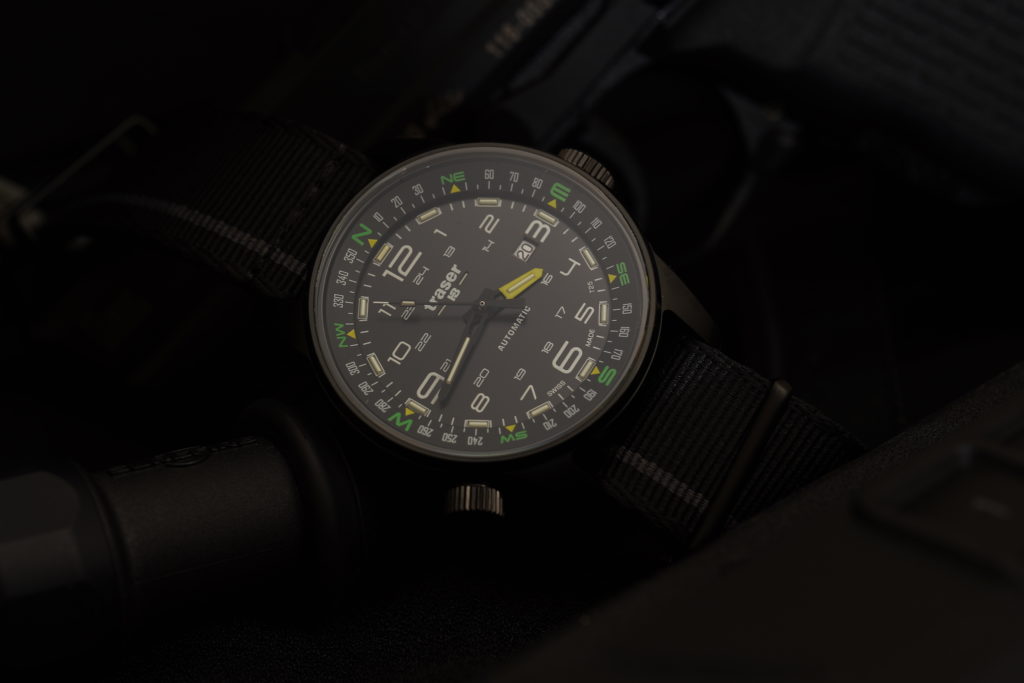
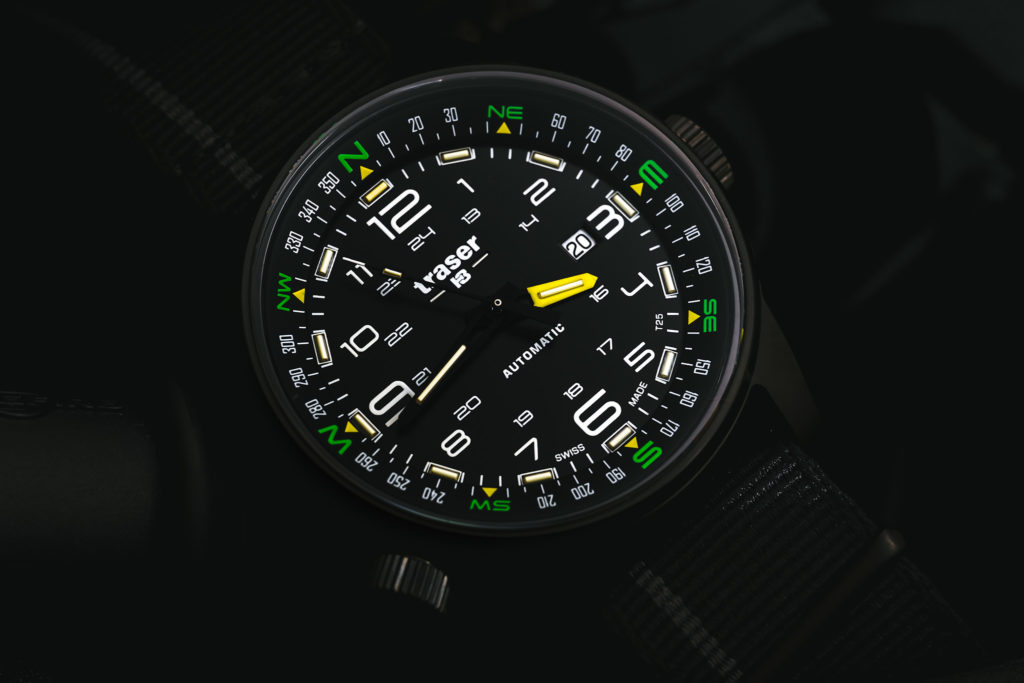
Can you tell which photos throughout this story belong to each camera system below?
Unfortunately, light alone doesn’t sell new cameras, as it’s much more difficult to articulate on a spec sheet – whereas the value or power of a camera can be easily communicated in its number of megapixels. And more megapixels should mean sharper, more detailed photographs, right? Well yes – but also no. It’s hardly quite so simple, because as you can see below, no two shooters on the ABTW Editorial team are reliant on the same camera system:
aBlogtoWatch Photo Contributors and their Camera Systems:
• David Bredan, aBlogtoWatch Senior Editor: Nikon
• Bilal Khan, aBlogtoWatch Managing Editor: Leica
• Zach Piña, aBlogtoWatch Content & Marketing Manager: Sony
However, one thing we can all agree on is how crucial it is to use high-quality tools for shaping light. Better light enables the shooter to use a much lower ISO setting with a much higher f-stop; a combination that yields sharper and more detailed images (no matter the camera’s megapixel count). The latter of these elements is particularly crucial when dealing with the razor-thin focal planes found in macro photography. But most important of all, better command over this light enables the photographer to shoot more creatively, ultimately producing more dramatic or compelling imagery.
Creating great light in a small corner of your home office or in a dynamic trades how environment is a bit like carrying around a box of puzzle pieces (i.e., various bits of camera gear) that have to be assembled on a complex new surface every time you take them out of the box. However, the more familiar you are with each piece, and the more often you put them together, the more comfortable you’ll be with adapting them to each new environment. And coming equipped with the right pieces in your little box enables you to bend the surrounding environment to your will, turning even your dining room table into a miniature photo studio for your favorite watches. To get you started, we’ve assembled three key steps in the process — each with its own tips and tricks that should enable you to make the most of what you’ve got and help you level-up your photo-sharing game on Instagram.
GET YOUR GEAR
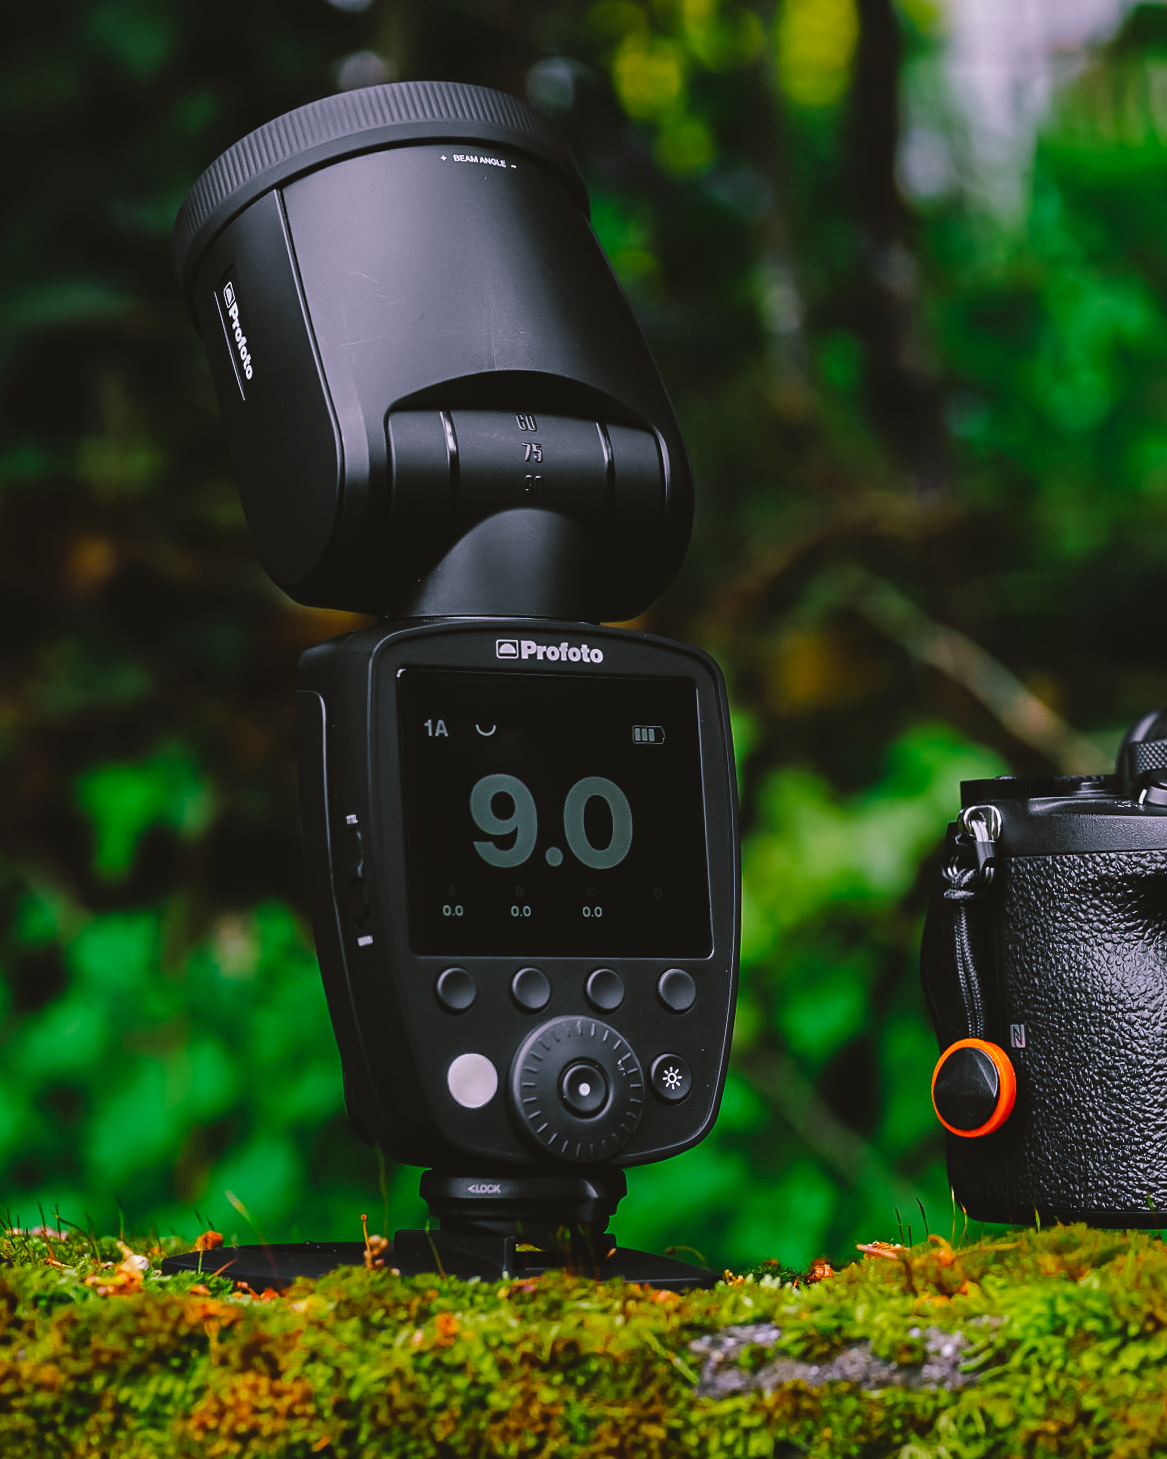
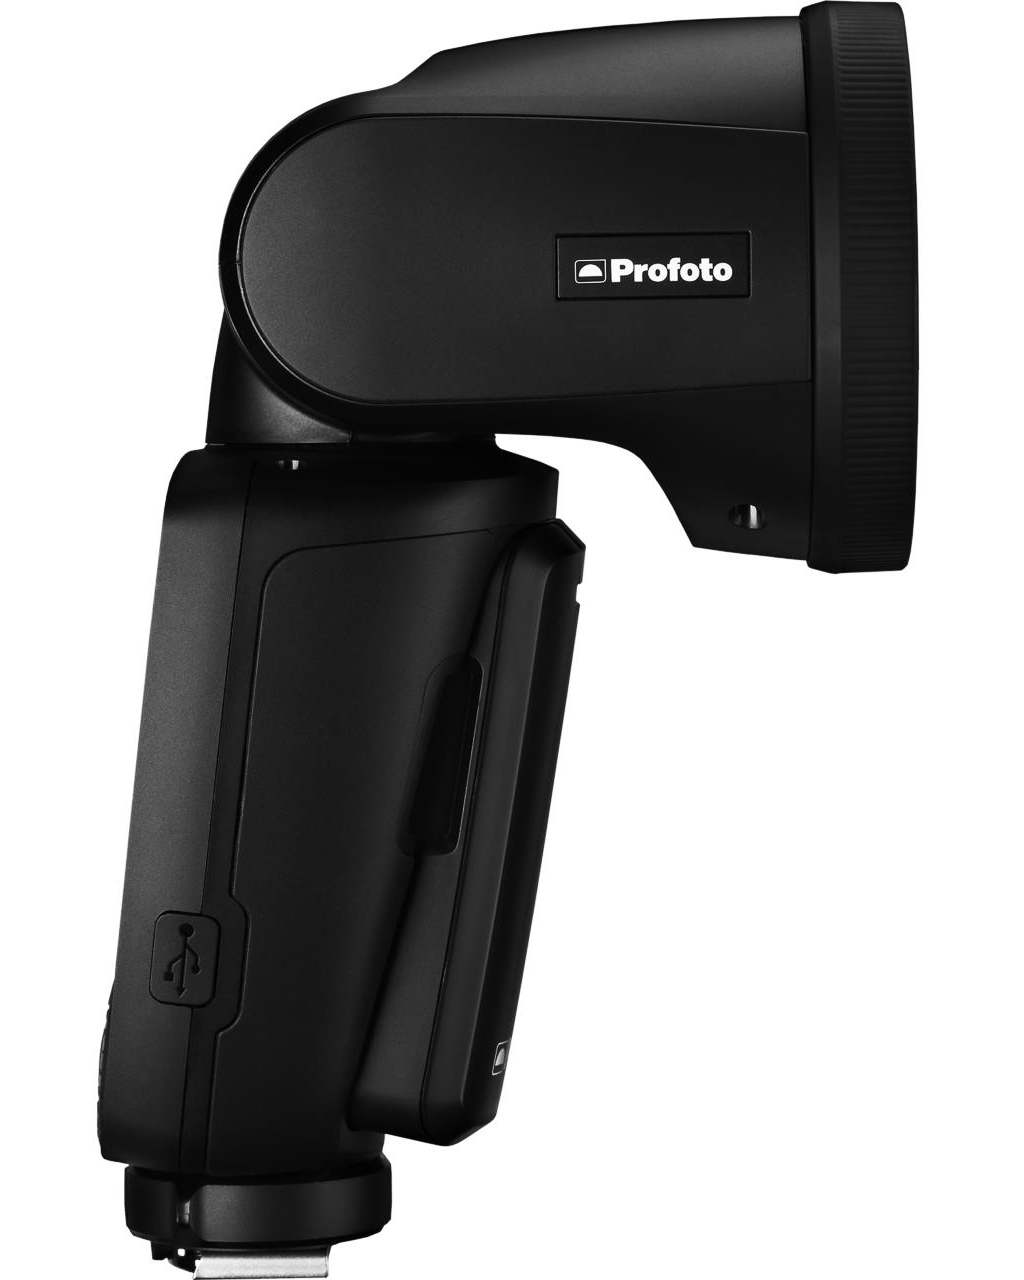
To get started, all you’ll need is a cool watch, a camera (even the one on your smartphone will do), and a good light source, and you’re well on your way. This light source could be a brightly lit corner of your apartment by a window, your camera’s onboard flash (just remember to never point the flash directly at your subject), or an external flash kit like Profoto’s powerful A1 or ultra-portable A1X flashes. A remote trigger like the ultra-simple Profoto Connect for the aforementioned isn’t mandatory, but it can absolutely come in handy, enabling you to introduce light to your subject from an entirely different direction as your camera. And while nearly any good light source will help you achieve satisfactory results, such an external flash system will unlock an entire world of dramatic, studio-quality light no matter the venue — be it a desk in your home offices or a dimly lit corner of a brand’s booth at Baselworld.
GEAR TIPS:
- A macro lens isn’t 100% required for shooting watches, but you’ll definitely want a lens or camera system that enables close focusing — the closer you can bring your audience to the subject and show off its details, the better. If a close-focusing capability isn’t in the cards with your available system, a larger sensor (more megapixels) will definitely come in handy here.
- While an iPhone can be a great watch camera in a well-lit environment, if you’re shooting in a sub-optimal lighting scenario, never use its onboard flash. Instead, consider a mobile lighting system like Profoto’s C1 system, which gives you the power to control the light source’s direction & power (just like an external flash kit) to better light your subject.
- It might seem silly, but when you’re photographing highly reflective watch surfaces at close distances, wearing neutral-toned colors will minimize potential unwanted color-balance issues in post-production.
GET THE SHOT
It might be obvious, but the first thing you should do is establish a shooting location, clean your watch (your future photo-editing self will thank you), then study your surroundings as it relates to the gear you’ll be using for the shot. Is there already enough natural light? Is the available light creating shadows that can be muted or re-directed with one of the simplest light-shaping tools in existence? What color are the walls, and are their directions or shapes conducive to bouncing an external flash’s light back towards your subject? A general rule of thumb when shooting watches — regardless of your camera system — is that watches love soft light. They might need a lot of it, but generally speaking, the softer the better, to minimize reflection and lend the image a certain dream-like quality. There are many ways to achieve the desired softness for your image (including the use of powerful strobes and a softbox, if you have the luxury of always shooting in the same location), but the most common tactics are simply diffusing it before it reaches its desired destination or by bouncing it off another surface — this is where a removable flash comes in real handy.
SHOOTING TIPS:
- Remember that thick or complicated watches often have a dramatic difference in depth between the text on their outermost edge and the center of the dial. To get as much of the watch in focus, and in-camera with a single frame (without using advanced studio techniques like focus-stacking or pixel-shifting), you’ll need lots of light and a very narrow aperture.
- If it’s sharpness that you prize, set your ISO first — this will force you to work within the limits of that sensitivity, and seek out the best means of lighting your subject. Conversely, consider using natural light and a higher ISO value without a flash for a moodier, more natural look.
- If you’re using a point-and-shoot camera system that has an adjustable, or pop-out, flash use your free hand to point the flash away from the watch and at a neutral-colored surface against which the light can be bounced.
FIX IT IN POST
So you got the shot. Your exposure is dialed, but the image still looks a little dull. This is where the fun part comes in — post-production is the final element to really make your image sing, to really make it yours. So, whether you prize sharpness, color accuracy, and brightly lit environments or prefer a moodier “film noir” look — the choice is entirely up to you, and fully customizable from within many of the photo editing programs of your choice — be it Snapseed, Lightroom, or even the surprisingly deep photo editing tools baked right into the IOS on your iPhone.
EDITING TIPS:
- Color accuracy in watch photography is crucial, especially when communicating the many various subtleties of a watch’s complex personality. One of the first steps in your post-production process should always be correcting the white balance of the image. This will ensure that a blue-dialed watch looks blue, white hour markers look white, or red bezel lettering looks red.
- No matter what editing software you’re using, go easy on the Saturation, Sharpness, or Clarity sliders. A little here always goes a long way, and it’s very easy to tell if you’ve gone too far.
- If you’re editing in Lightroom, don’t forget the Tone Curve. It’s an extremely powerful tool that enables you to control many aspects of your exposure but, more importantly, the overall mood of your image.
If you find any of these tips useful in your own personal watch photography journey, we’d urge you to share your photos on Instagram and be sure to tag aBlogtoWatch so we can in turn share some of our favorites. And one last reminder — don’t forget to explore Profoto’s many professional-grade photography tools to serve all your light-shaping needs. Visit the store at profoto.com.